Subscribe to and Invoke an API
You can subscribe to an API via the API Store. WSO2 API Store has an integrated Swagger Console, which is part of the Swagger project. You can use it to invoke APIs and write interactive API documentation.
In this tutorial , you subscribe to an API and invoke it using the
integrated API Console. The examples here use the
PhoneVerification API, which you published via the tutorial Create and Publish an API.
Note
You can only try out HTTPS based APIs via the API Console, because the API Store runs on HTTPS.
Let's get started.
-
Sign in to WSO2 API Cloud.
-
In the WSO2 API Publisher, click the
PhoneVerificationAPI to open it.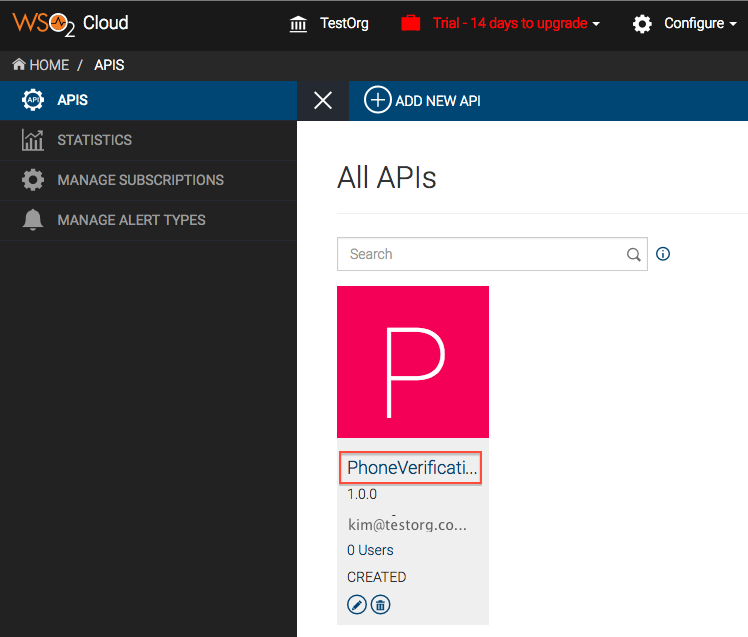
-
Click the View in Store link that appears in the Overview tab of the API. You can also go to the API Store using the URL
http://api.cloud.wso2.com/store/?tenant=<tenant_name>.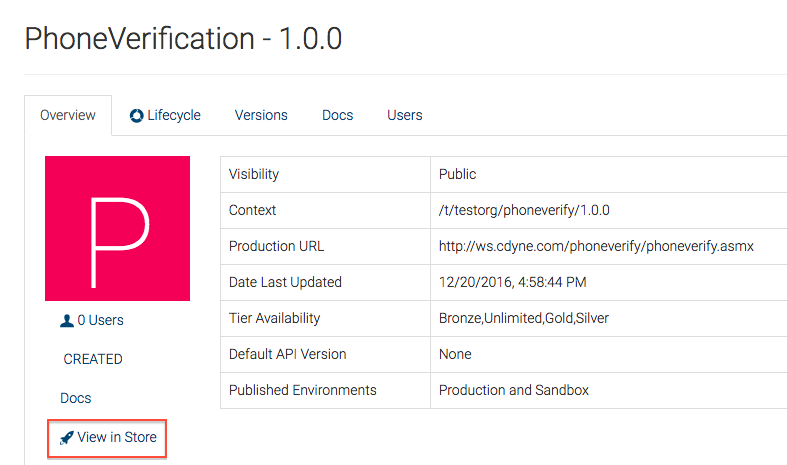
-
Note the subscription options on the right-hand side of the page that opens. Select the
Default applicationand theBronzetier to subscribe to the API.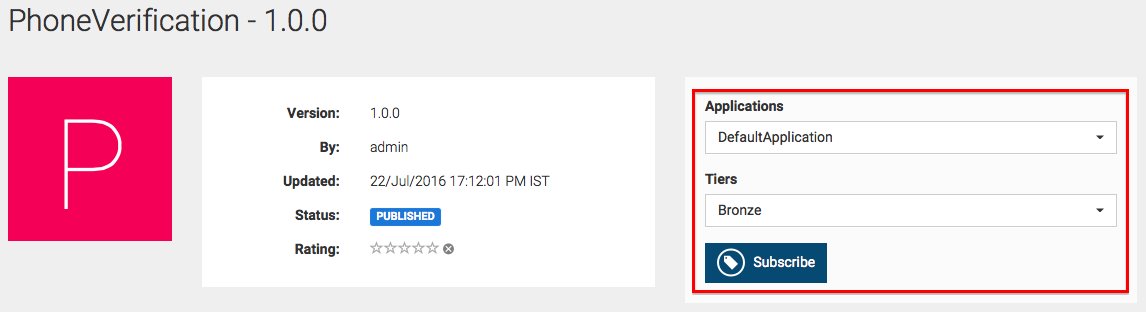
-
When prompted, choose to view subscriptions. This displays the details of the application that you used to subscribe to the API.
-
Click the Production Keys tab and click Generate keys.
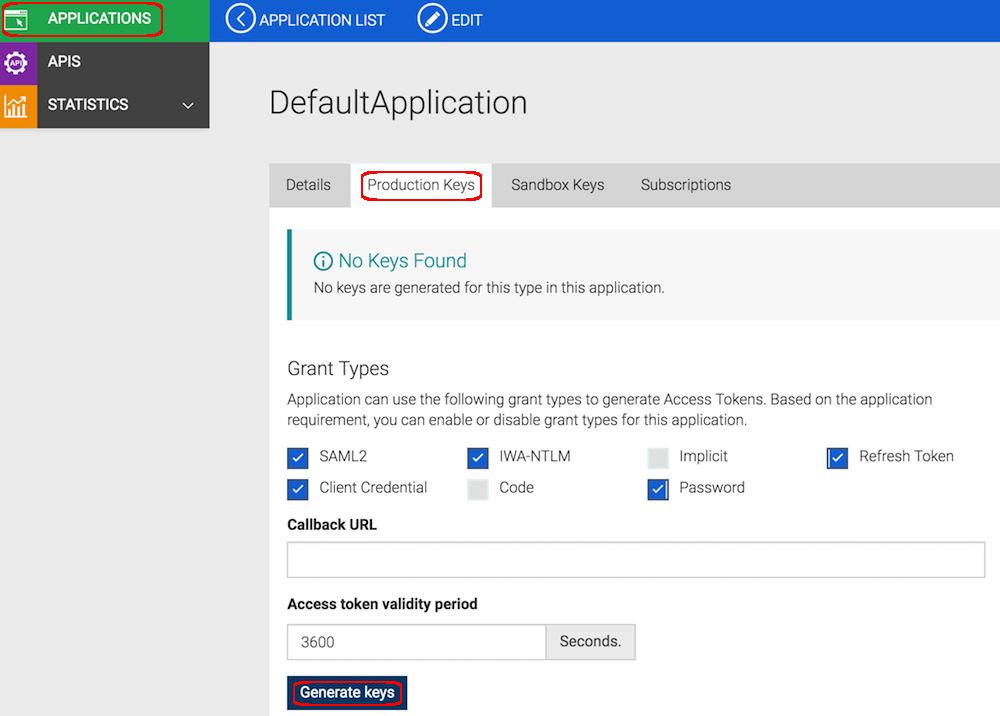
By default the Client Credentials grant type will be used to generate the access token. Make sure the Client Credentials grant type is selected when generating keys from the UI.
Tip
You can set a token validity period in the given text box. By default, it is set to one hour (3600 seconds). If you set a negative value (e.g., -1), the token will never expire.
However, this non-expiring token too can be revoked in some situations such as changing user password, changing the client secret, calling the token revoke api, authorization service provider detects that the tokens are compromised due to a security breach etc.
Hence,
- It is not recommended to hard-code such access tokens in client's applications on any production environment to communicate with the API Manager.
- You should use the recommended methods of obtaining the token by using the relevant grant type.
- Hard coding the token needs to be done with caution and if doing so, the application needs to be provisioned to get a new token in case the current hard-coded token is invalidated by the system.
-
After the keys are generated, click the APIs menu in the API Store and then click the API that you want to invoke.
-
When the API opens, click its API Console tab.
-
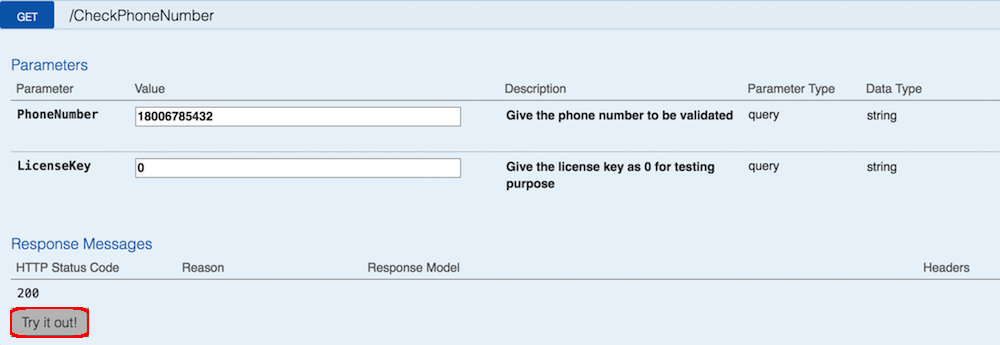
Expand the GET method, specify values for the required parameters, and then click Try it Out. You can specify the following sample details to invoke the API:
PhoneNumber E.g., 18006785432 LicenseKey Give 0 for testing purpose Authorization The API console is automatically populated by the access token that you generated in step 6 after subscribing to the API. The token is prefixed by the string "Bearer" as per the OAuth bearer token profile. OAuth security is enforced on all published APIs. If the application key is invalid, you get a 401 Unauthorized response in return.
Base URL Appears at the bottom of the console. Using the base URL and the parameters, the system creates the API URL.
Note
If you cannot invoke the API's HTTPS endpoint (causes the SSLPeerUnverified exception ), it could be because the security certificate issued by the server is not trusted by your browser. To resolve this issue, access the HTTPS endpoint directly from your browser and accept the security certificate.
-
Note the response for the API invocation. As we used a valid phone number in this example, the response is valid.
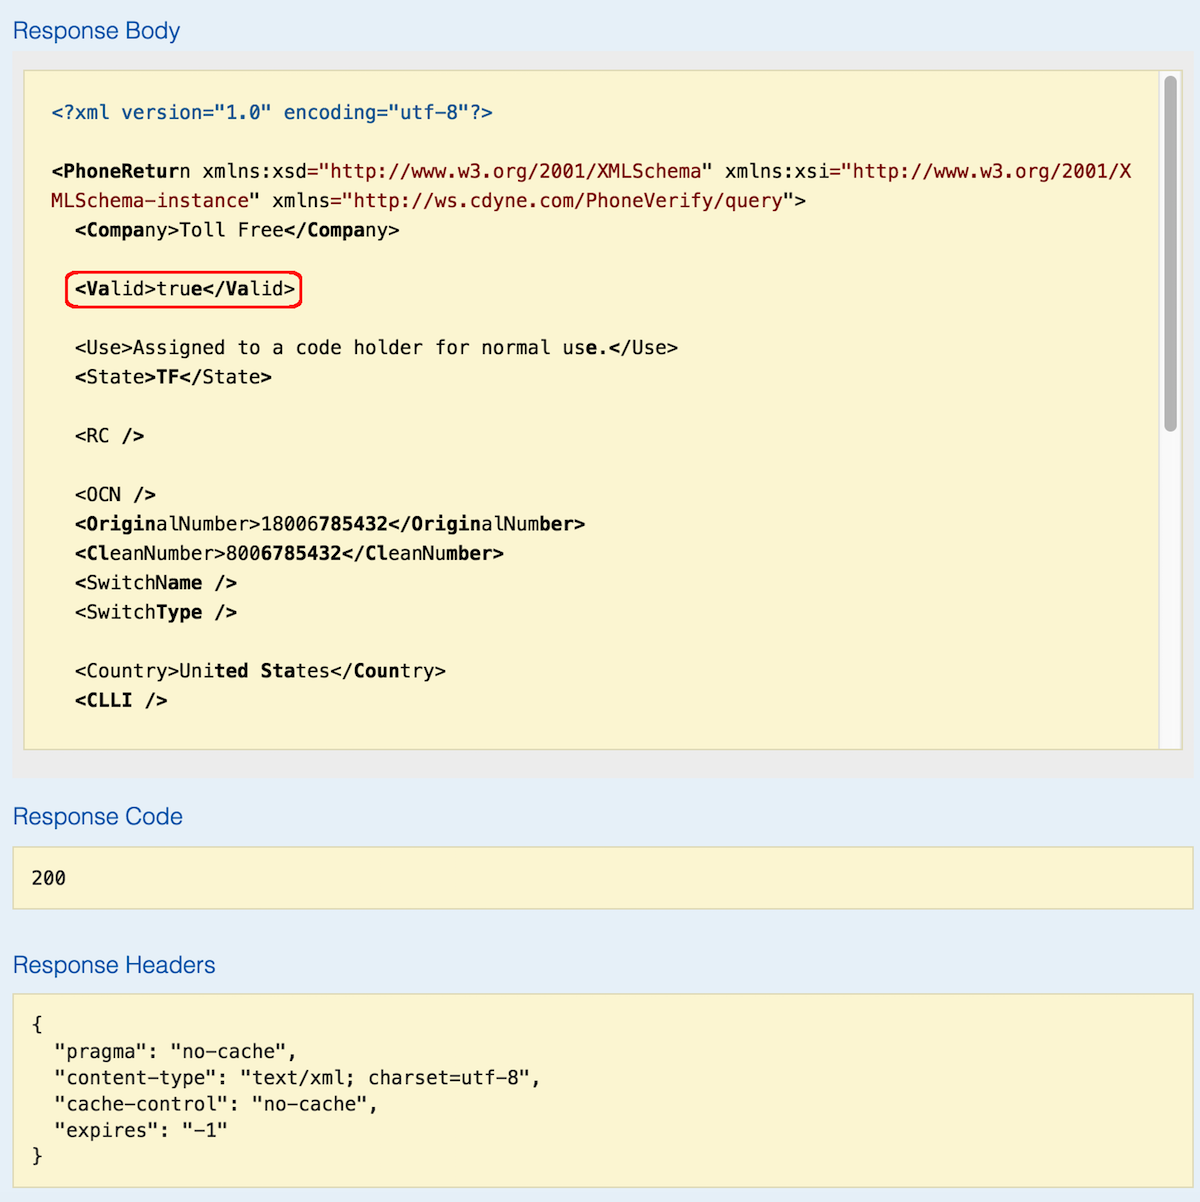
Now you have successfully invoked an API using the Swagger API console.
Top