Customize the API Store Theme
A theme consists of logos, images, color scheme, layout, style elements and so on, which contribute towards the overall look and feel of a website. Therefore, a theme directly reflects your brand identity and represent who you are to your partners and customers. WSO2 API Store comes with a default theme named Fancy , which defines the basic look and feel of the API Store. Since the capability to customize an API portal with your own corporate logos and styles is an important requirement when it comes to APIs, WSO2 API Cloud allows you to customize the look and feel of the API Store depending on your preference.
Let's get started!
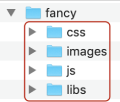
All themes have a folder structure similar to the following:
Note
Since the default theme already has most of the UIs and JSON logic defined, in a typical scenario, you would not implemen the theme from scratch. You can customize the default theme by bundling together the changes (e.g., CSS code, images) as a .zip file, and uploading it through the Admin Dashboard Web application. Once uploaded, the files in the .zip override the corresponding files in the default theme. The rest is inherited from the default theme.
- To override the default theme, ensure that you upload UI changes,
fonts, and images as follows:
- UI changes as CSS code.
- Fonts in TTF, EOT, WOFF, WOFF2 or OTF formats.
- Images in JPG, PNG, SVG, or GIF formats.
- Jaggery files or Javascript files are not allowed in the custom theme due to security reasons. If you include any Jaggery files or Javascript files, such files will be discarded and your theme will not work properly.
Here's a walk-though of the steps you can follow depending on the customizations you want to apply:
Before you begin
Download the default theme fancy.zip, unzip it and then rename the folder to the name of your new theme (e.g., ancient). Let's call this folder <THEME_HOME> throughout this section.
- To change the logo of the API Store, replace
<THEME_HOME>/libs/theme-wso2_1.0/images/logo-inverse.svgwith a preferred logo. - To change the logo of the API Store's self sign up page, replace the
<THEME_HOME>/images/logo-white.pngwith a preferred logo. -
If you want to make any of the customizations listed below, open the
<THEME_HOME>/css/custom.cssfile using a text editor and add the given CSS code block to the end of the file depending on the customization you want to apply:-
To hide the API Store label on the header:

.display-block-xs {
     visibility: hidden;
}
Applying the code block results in the following:

-
To change the color of the header:

header.header-default {
    background: #893936 none repeat scroll 0 0;
        }
Applying the code block results in the following:

-
To change the color of the top navigation bar:

.navbar {
    background: #1ad8d1 none repeat scroll 0 0;
}
Applying the code block results in the following:

-
To change the color of the search box and its fonts:

.search-wrap .appm-content-search {
    background: #49d162;
    color: #000000;
}

.appm-content-search::-moz-placeholder {
    color: #49d162;
}
Applying the code block results in the following:

-
To change the color of the search button:

.search-wrap .btn.wrap-input-right {
    background: #555555;
}
Applying the code block results in the following:

-
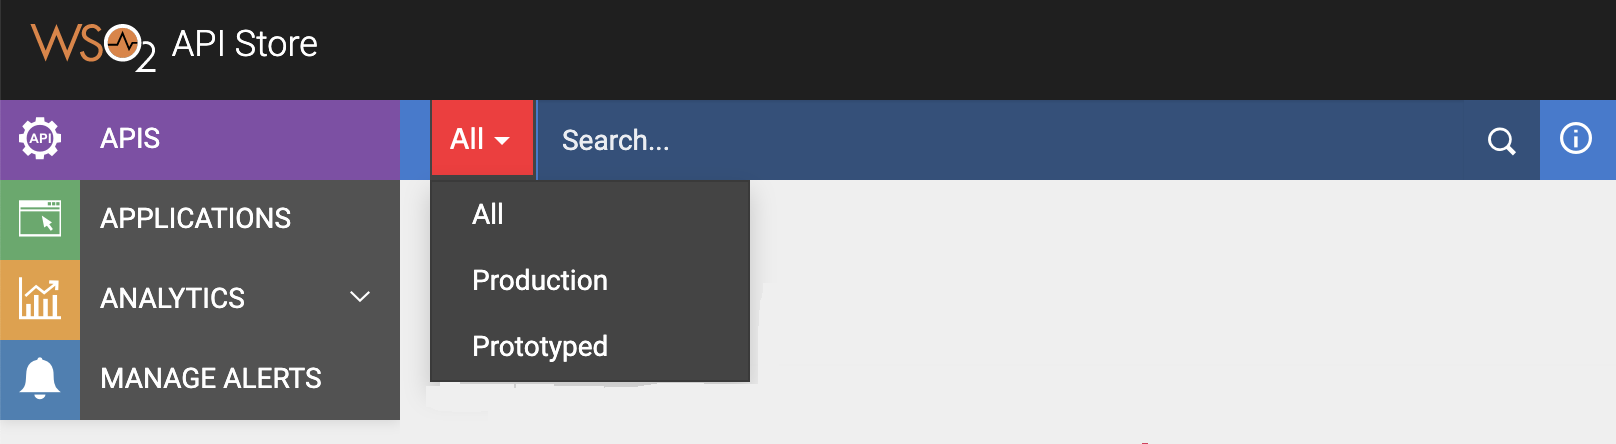
To change the color of the drop-down list of API categories you can search:
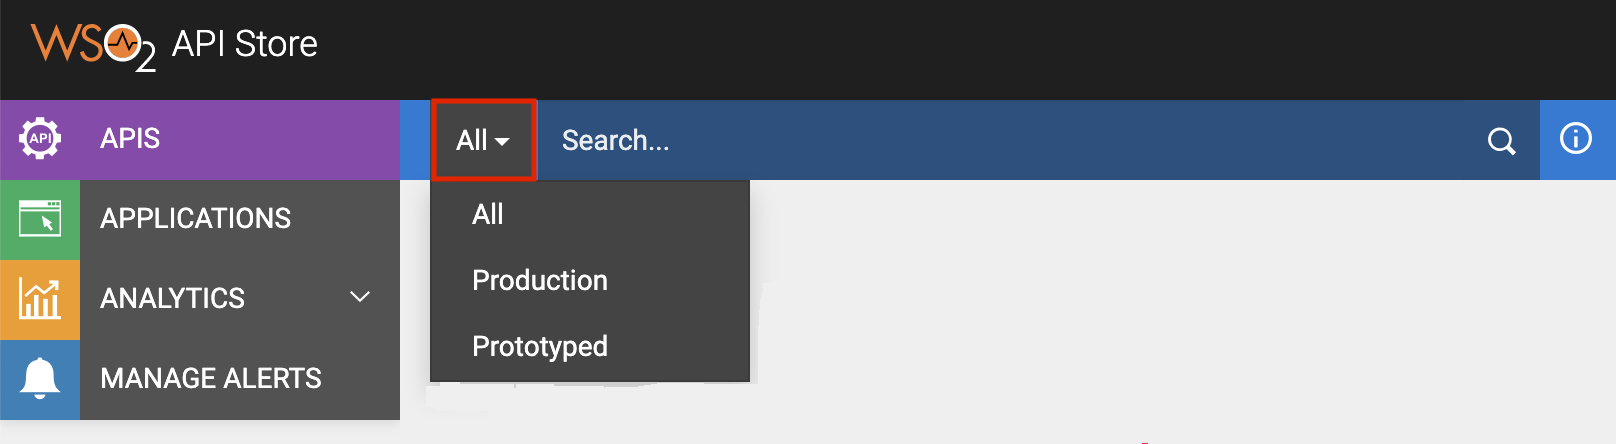
.search-wrap .btn.dropdown-toggle {
    background: #eb3f3f none repeat scroll 0 0;
    border-color: #444444;
}
Applying the code block results in the following:
-
To change the font of the menus, headings, and labels to Verdana:
Tip
You can specify several fonts in order of preference to ensure maximum compatibility in case one font fails in a given browser/OS. If the first font you have listed fails, the next font in the list will be applied.
body,textarea,pre,.navbar-search .search-query{ font-family: Verdana, Arial, Helvetica, monospace, san-serif; } label, input, button, select, textarea{ font-family: Verdana, Arial, Helvetica, monospace, san-serif; } h1,h2,h3,h4,h5{ font-family: Verdana, Arial, Helvetica, monospace, san-serif; } -
To change the background color:
body{
    background: #b7e0ed;
}
Applying the code block results in the following:
-
To change the color of the buttons:
Tip
When changing the color of buttons, changing only the background color will not have a visual impact if you leave the gradient as it is.
.btn-primary { background-color: #800004; background-image: linear-gradient(to bottom, #cc0022, #cc0044); } -
To hide the social media and collaboration icons from the Overview section of an API:
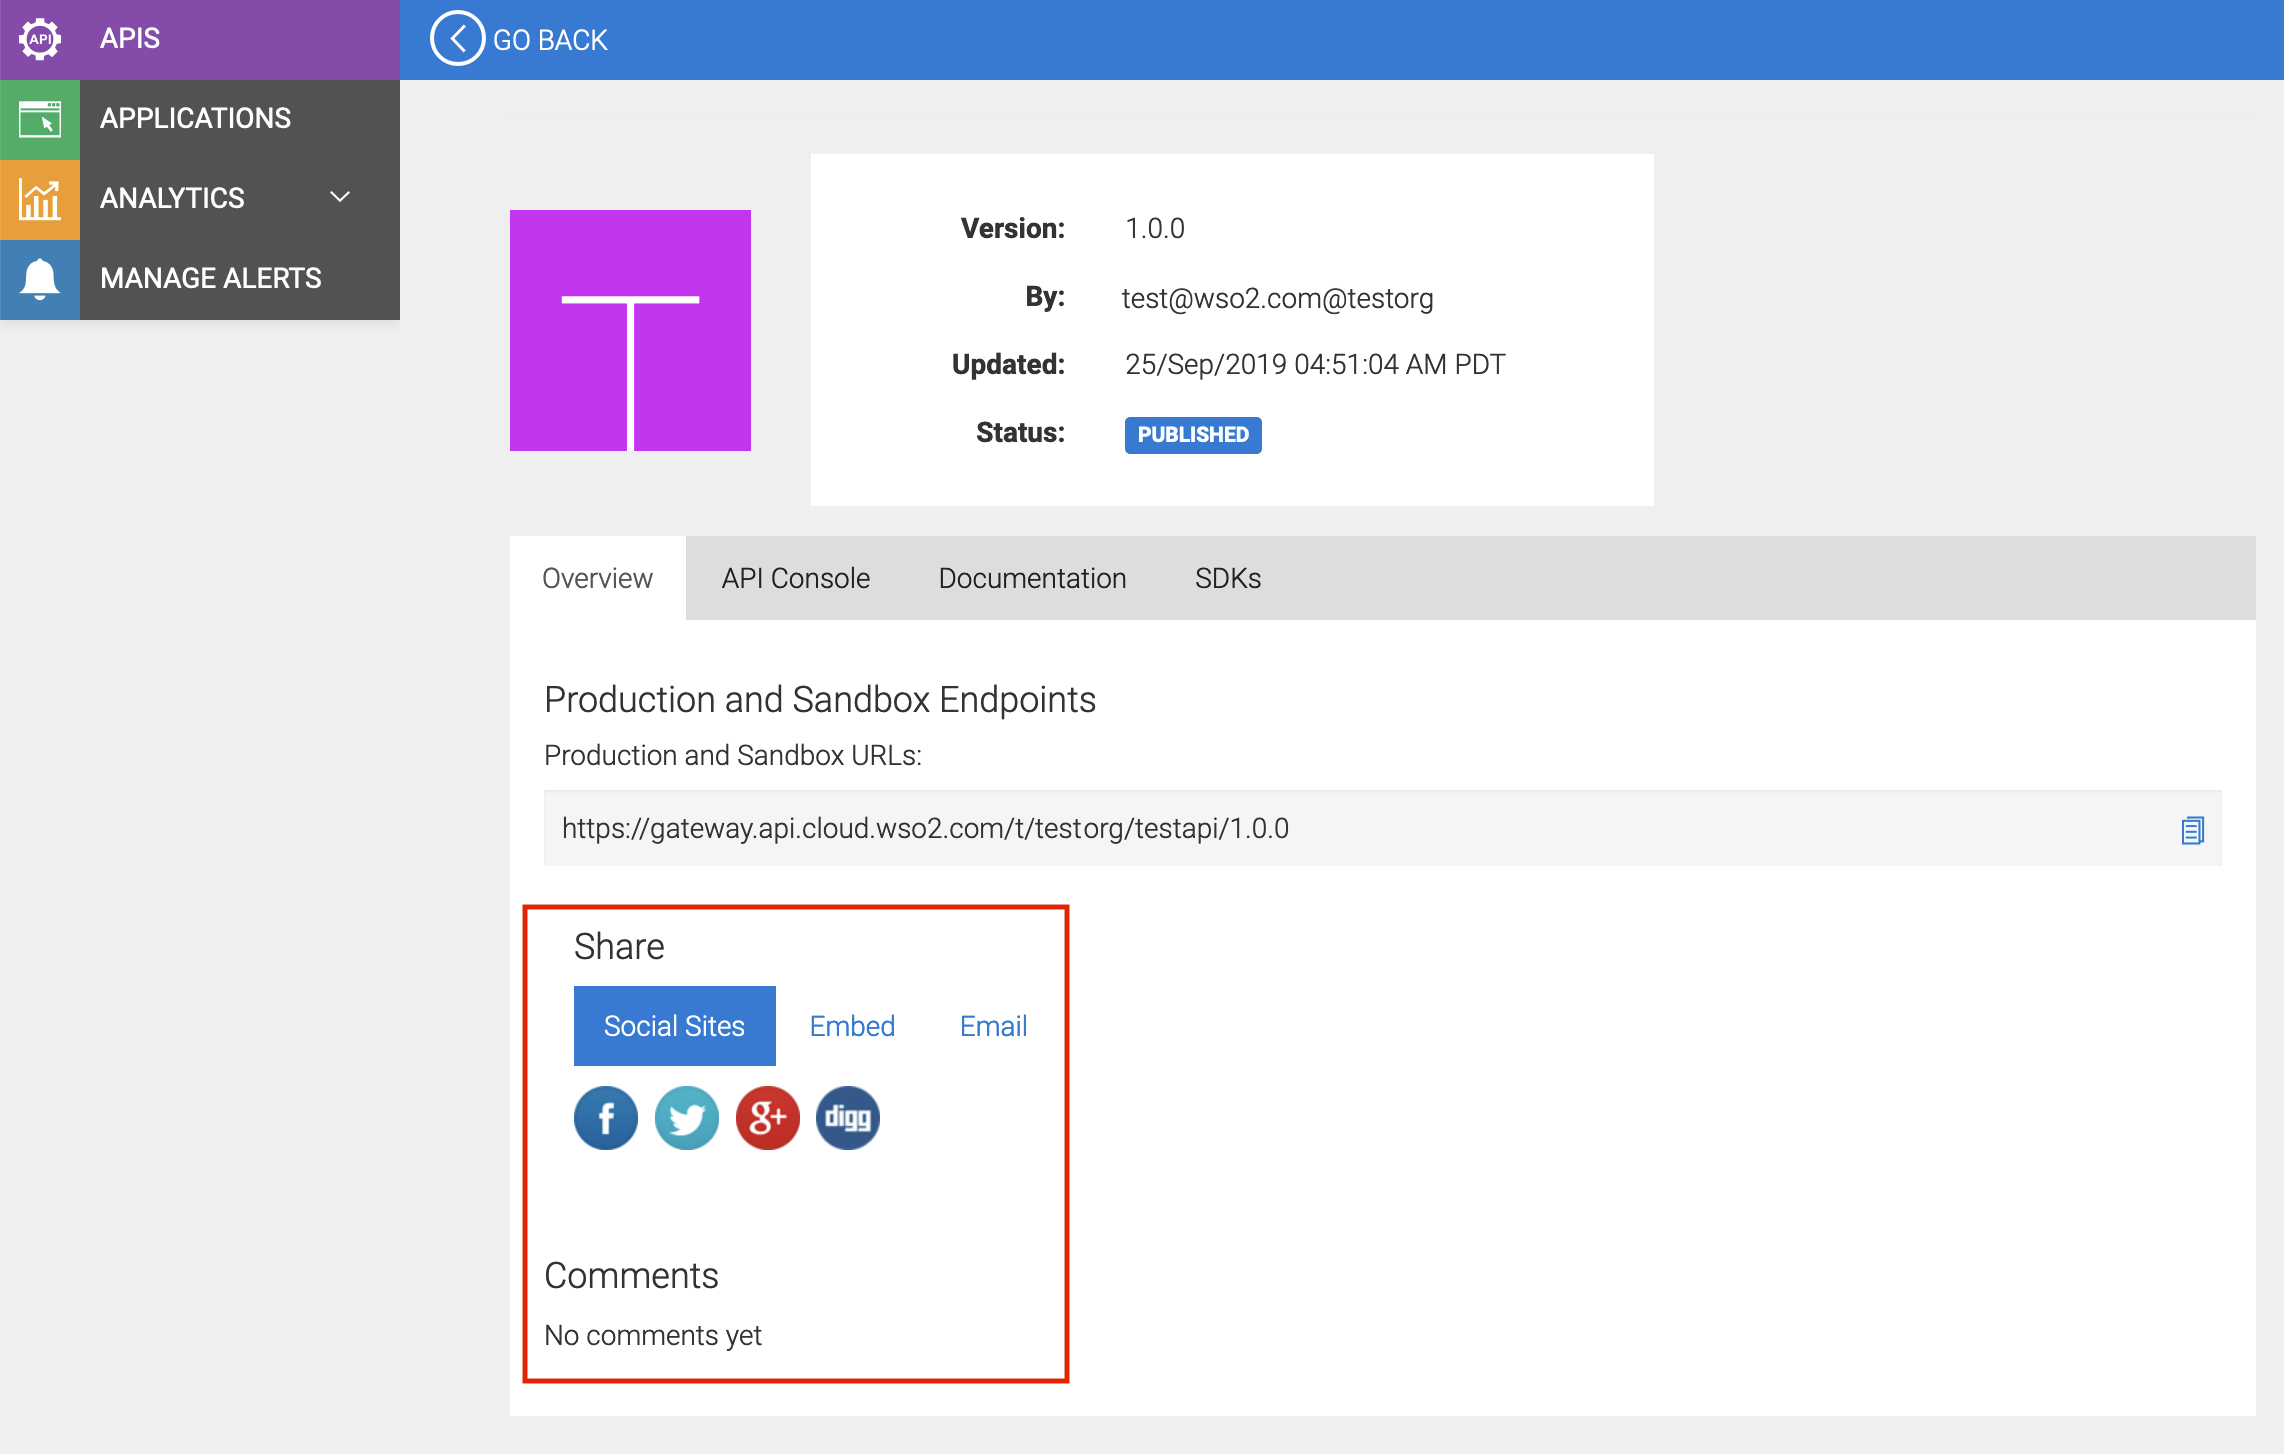
.share-container{
display: none;
  }

#tab0  ul {
display: none;
}

#tab0 .col-md-12 .col-lg-9 > .add-margin-top-5x {
display: none;
}

#comment-list{
display:none;
}
Note
To completely hide the comments section. You need to open the
<THEME_HOME>/js/script.jsfile using a text editor and add the following script code:$('#comment-list').parent().hide()Applying the code block and
script.jschanges will result in the following:
-
To hide the SDKs tab of APIs:

.nav-tabs li:nth-child(4){
display: none;
}
Applying the code block results in the following:
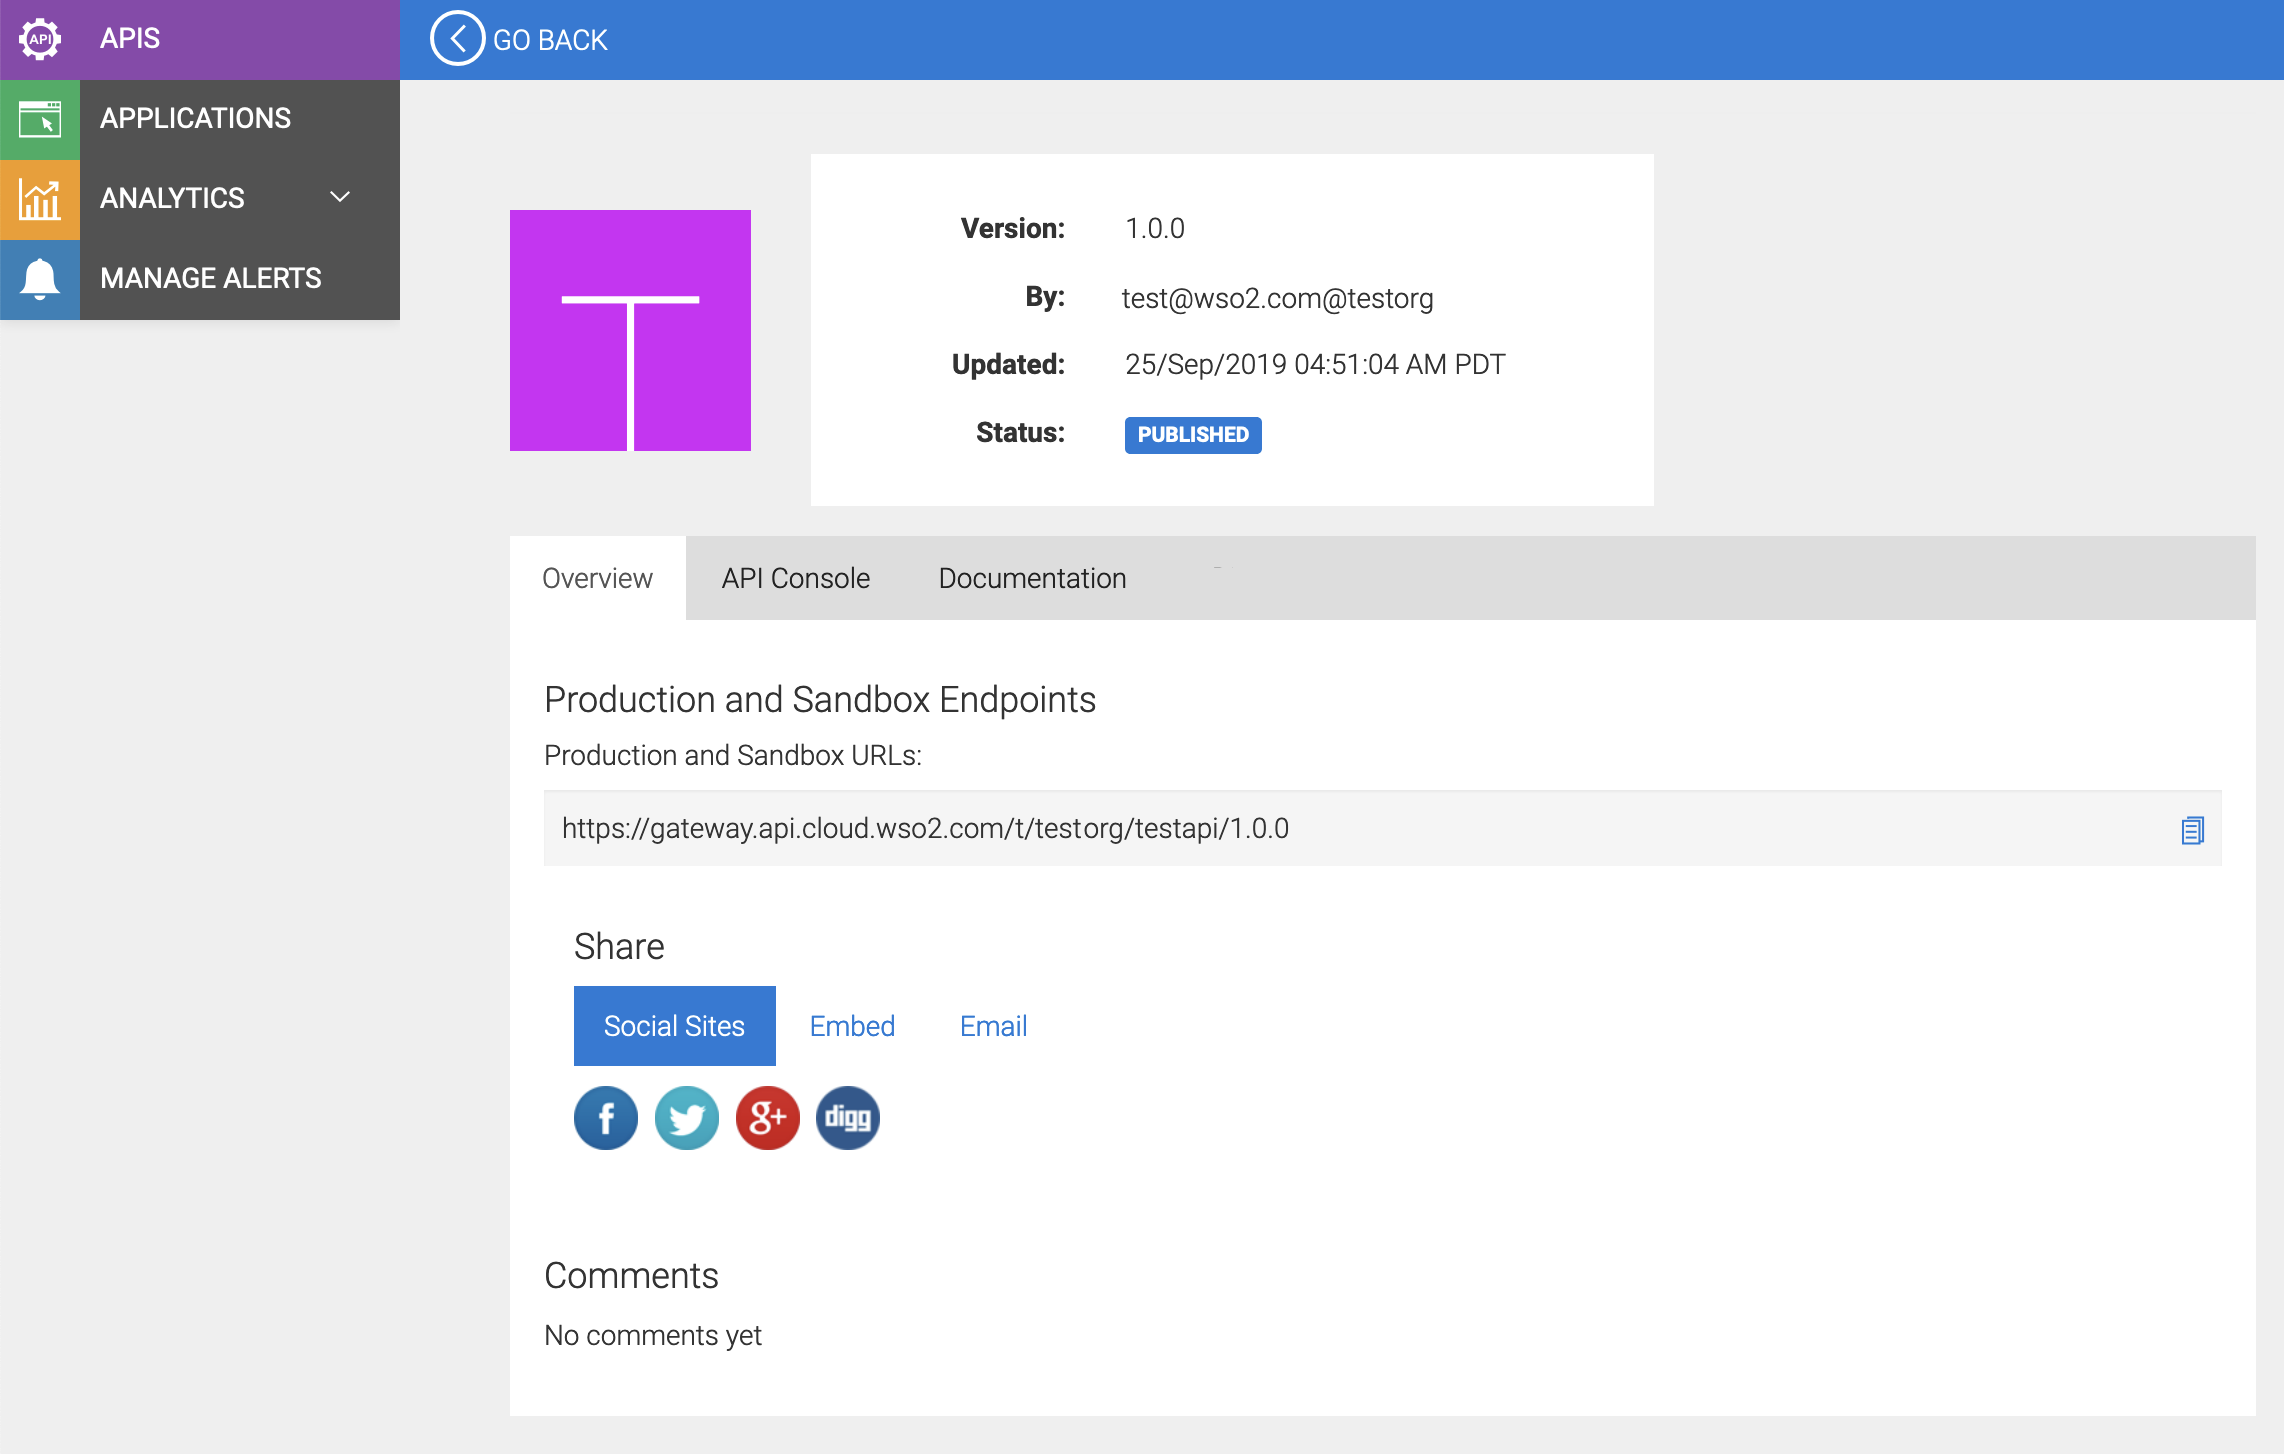
-
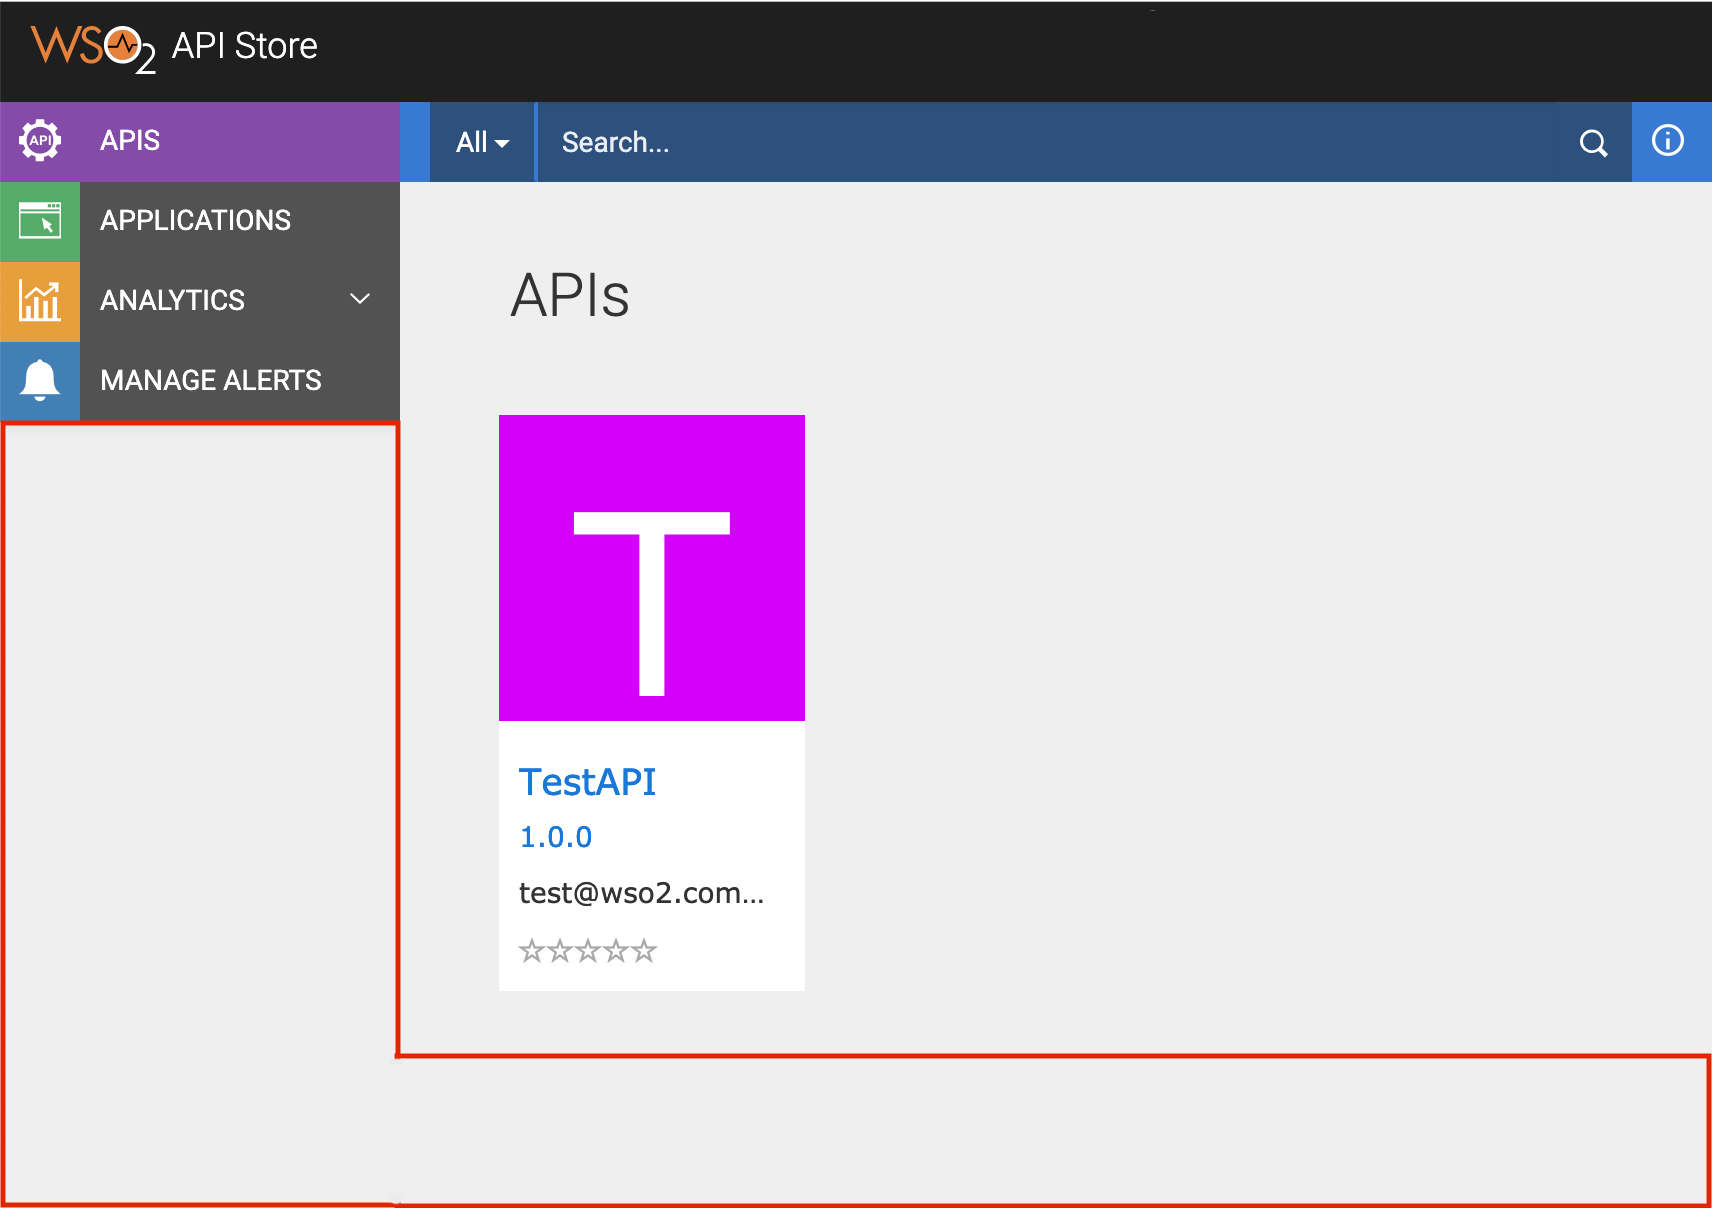
To hide the More APIs section displayed at the bottom when viewing a particular API via the Store:
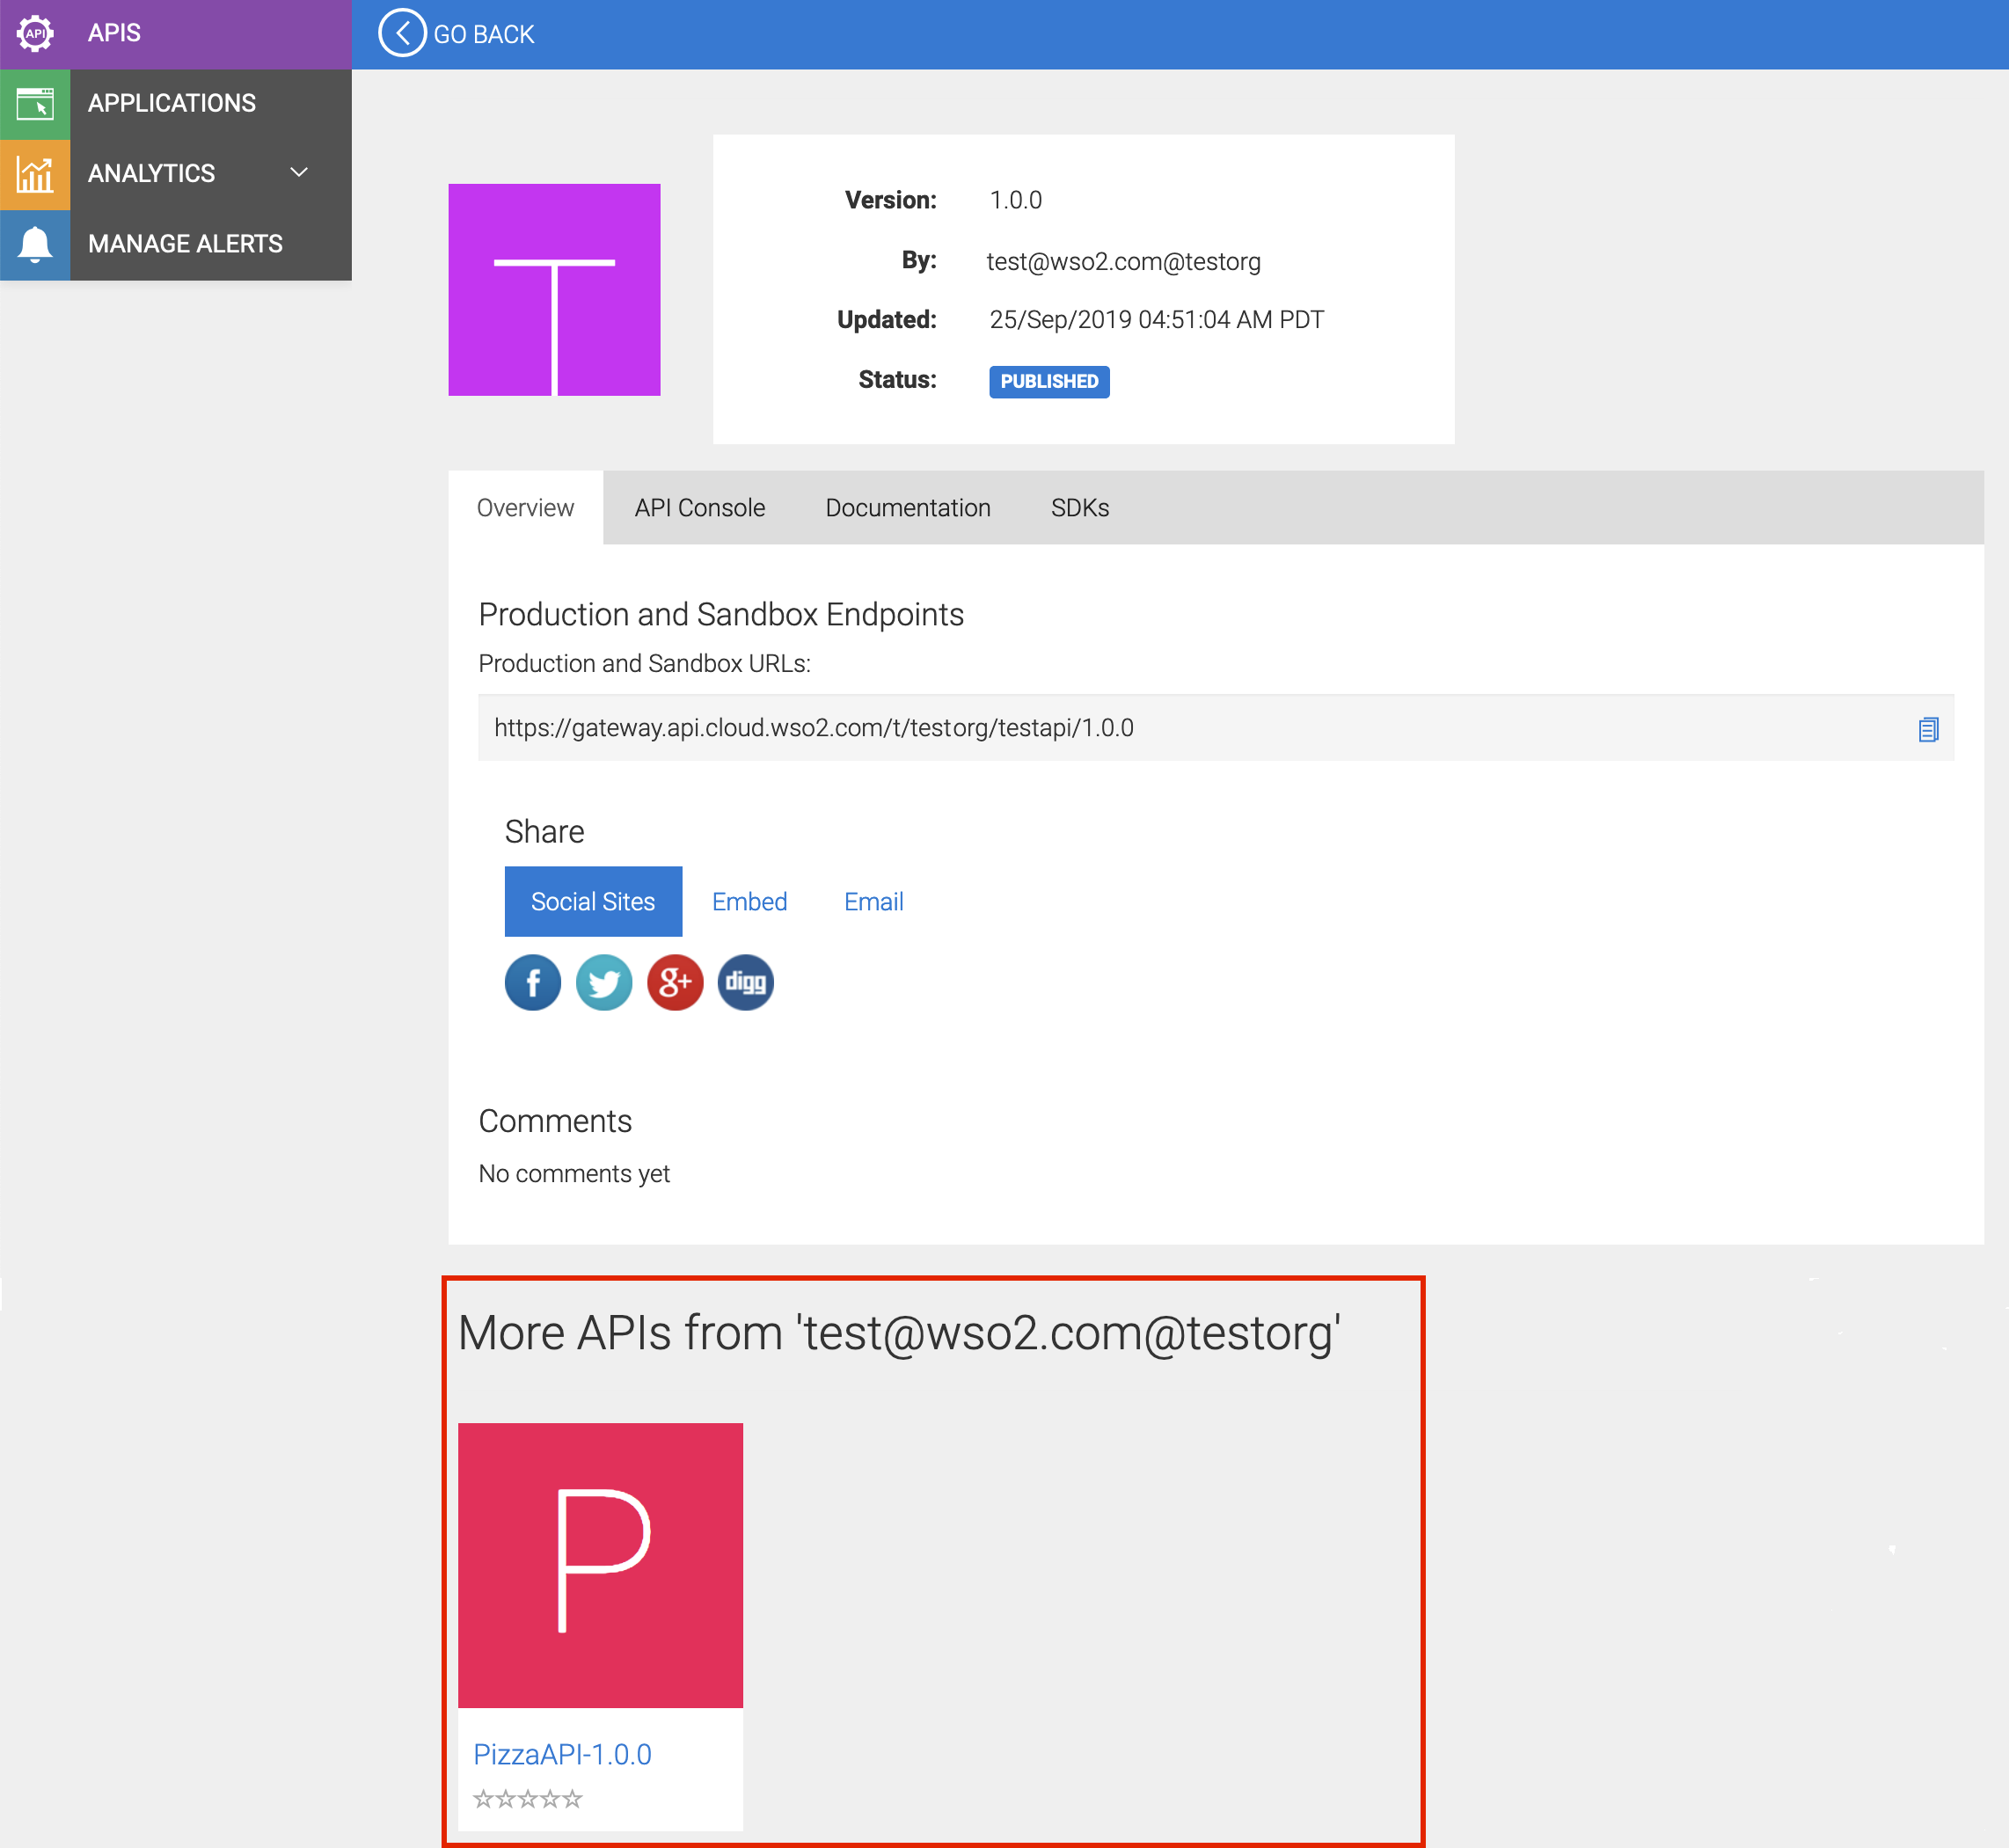
.truncate-children{
display:none;
}

div.body-wrapper div:nth-child(4){
display: none;
Applying the code block results in the following:

-
-
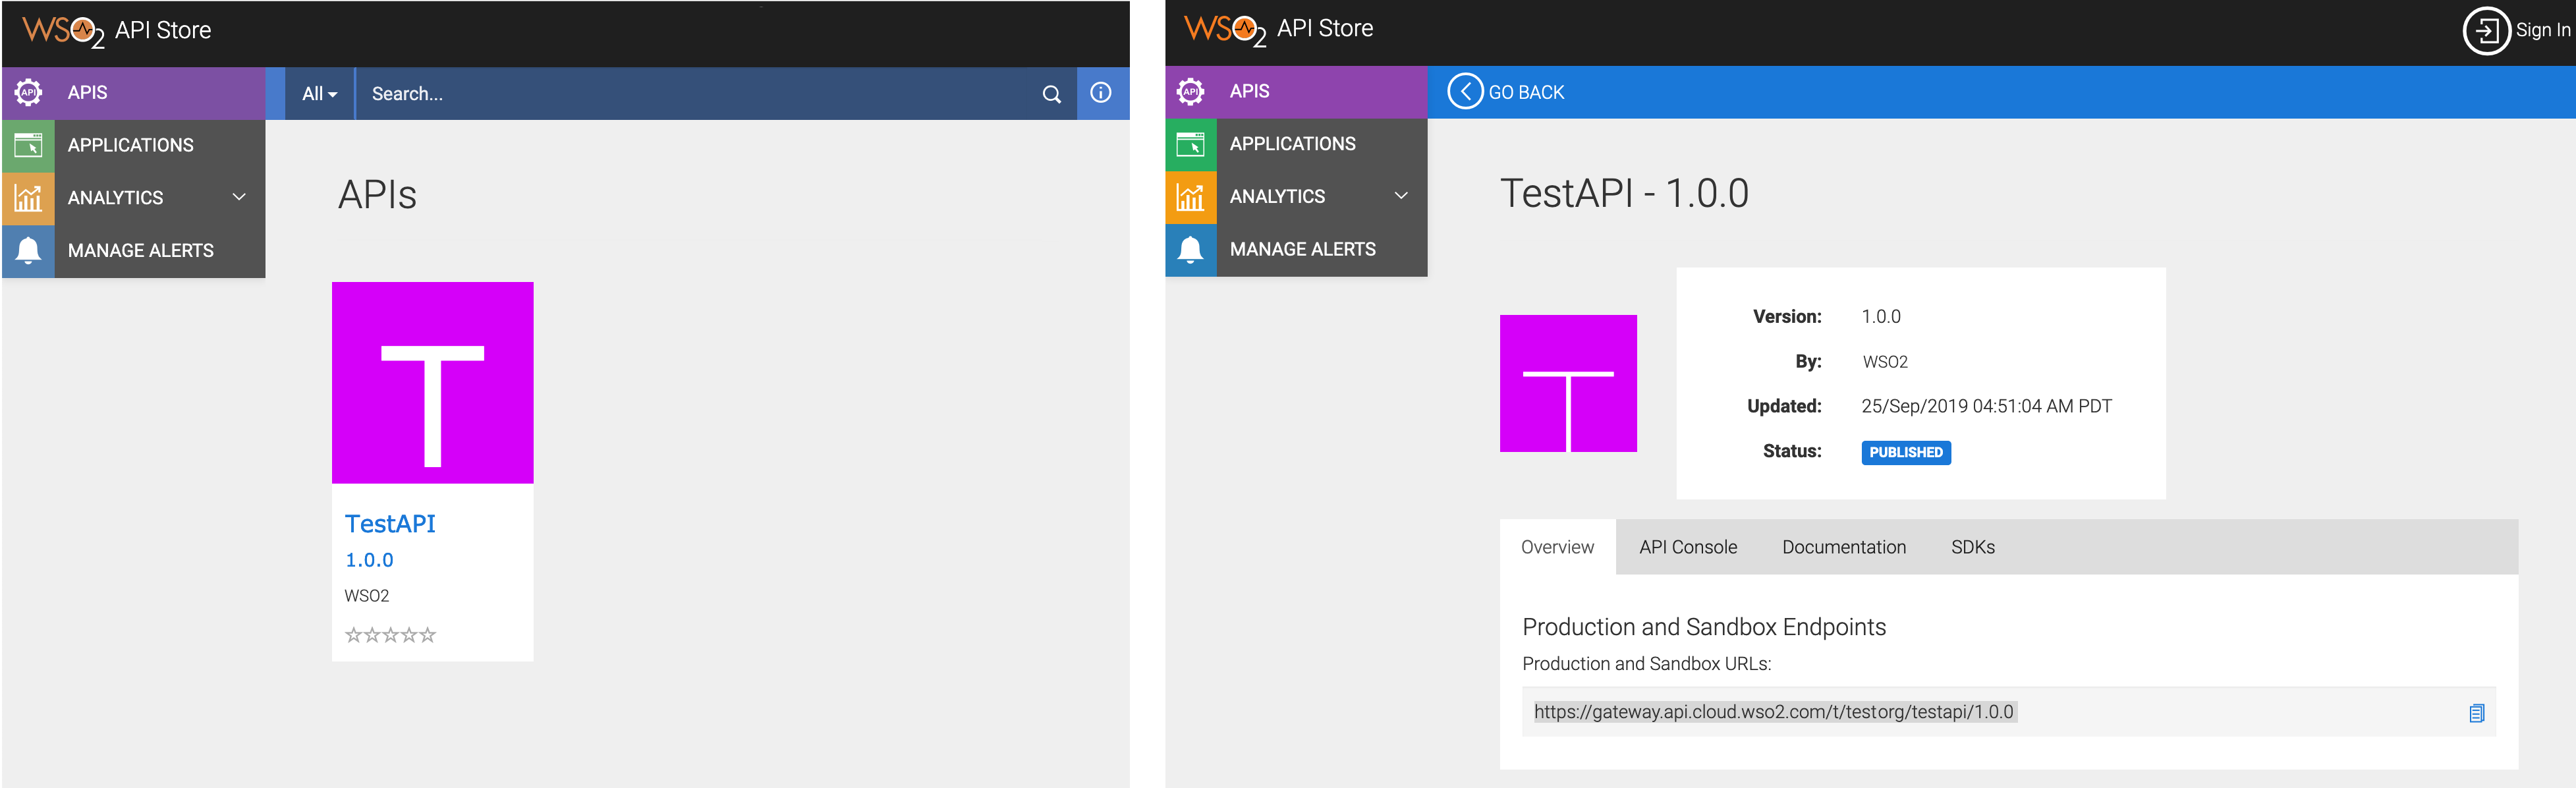
If you want to edit the name of the API author, which is displayed as
<your_email_address>@<your_organization_key>by default, follow the steps below:
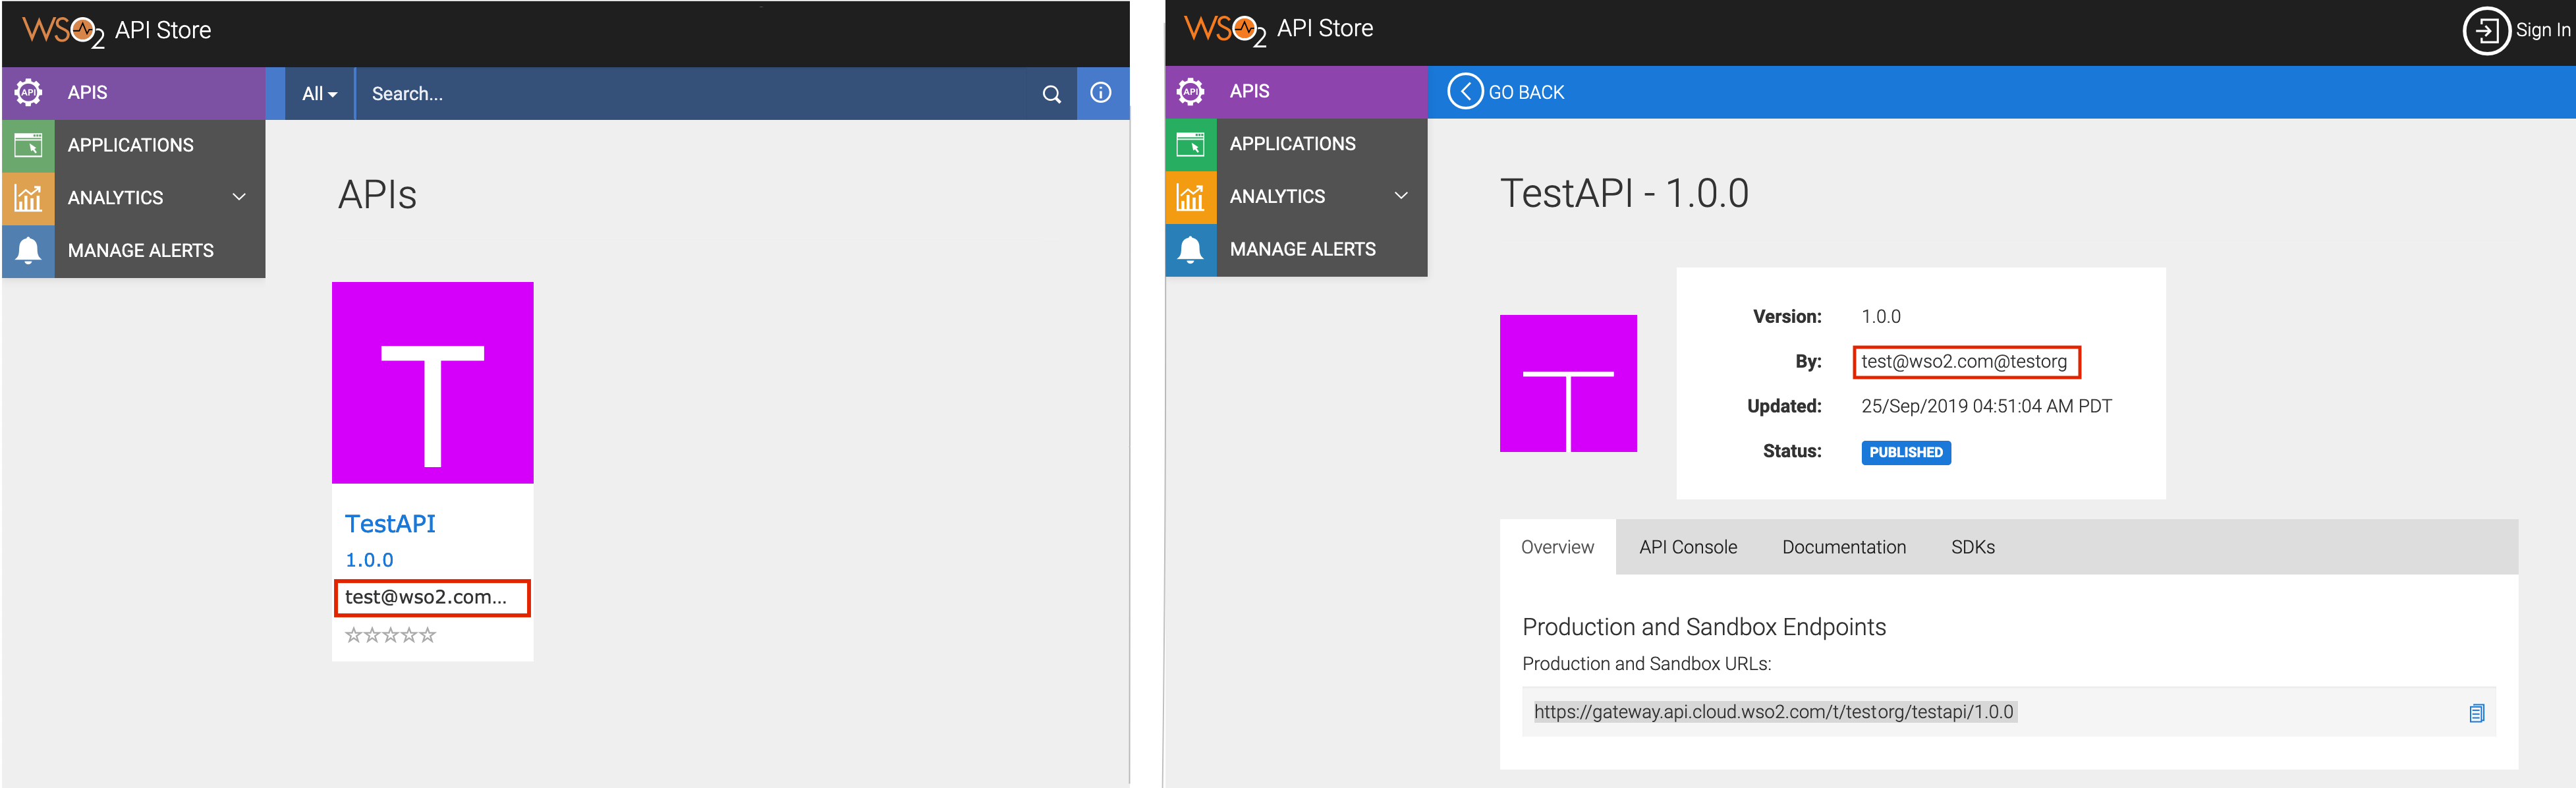
- On the API Publisher, browse to the API for which you want change the author, and then click EDIT API .
- Navigate to the Manage tab.
-
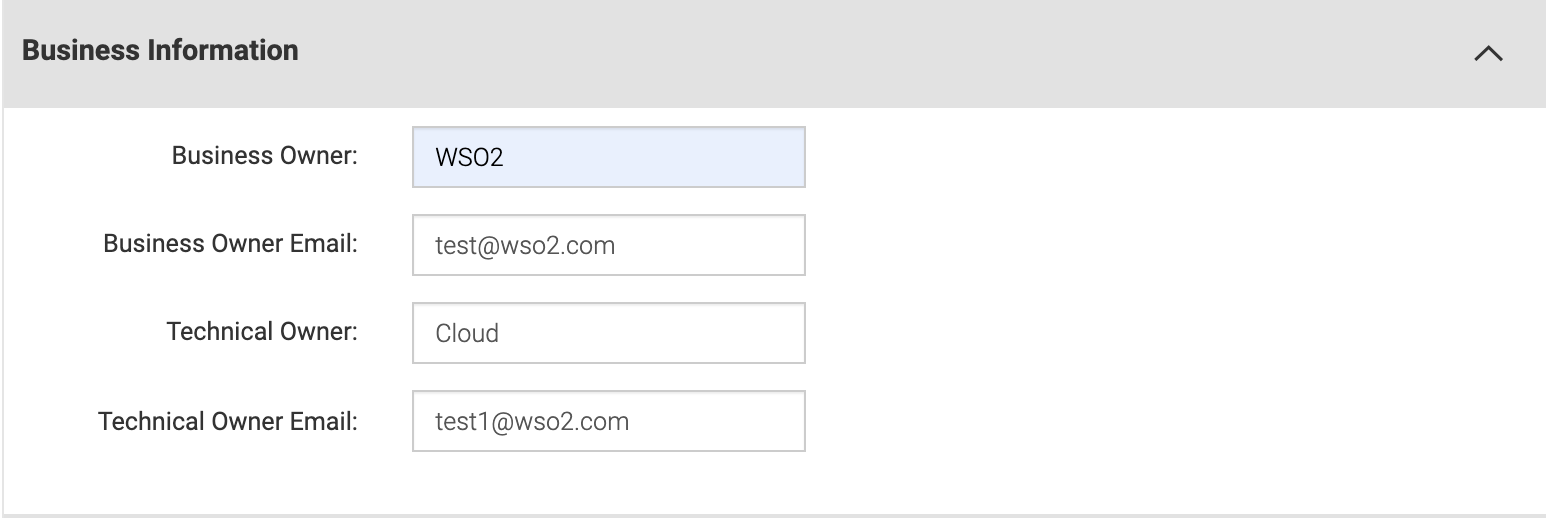
Expand the Business Information section and specify appropriate values for the fields.
Tip
The value that you specify in the Business Owner field will be displayed as the API author.
-
Click Save & Publish . This updates the author of the API. You can go to the API Store to view the updated author.
Once you are done with all the required customizations, you are ready to upload your theme changes as a sub-theme of the default main theme.
Note
Before you upload your theme customizations, you need to delete all the
files except the ones that you just edited in your
<THEME_HOME> folder. The rest of the files will be
automatically applied from the main theme.
Follow the steps below to upload your theme customizations:
-
Go to the
<THEME_HOME>folder, select all the files/folders inside it, then (Ctrl+A) and right click to archive all the selected files and folders together.Tip
Tip : Be sure to select all the files/folders (Ctrl+A) and right click on all the selected artifacts to create the archive file.
-
Rename the archive file to
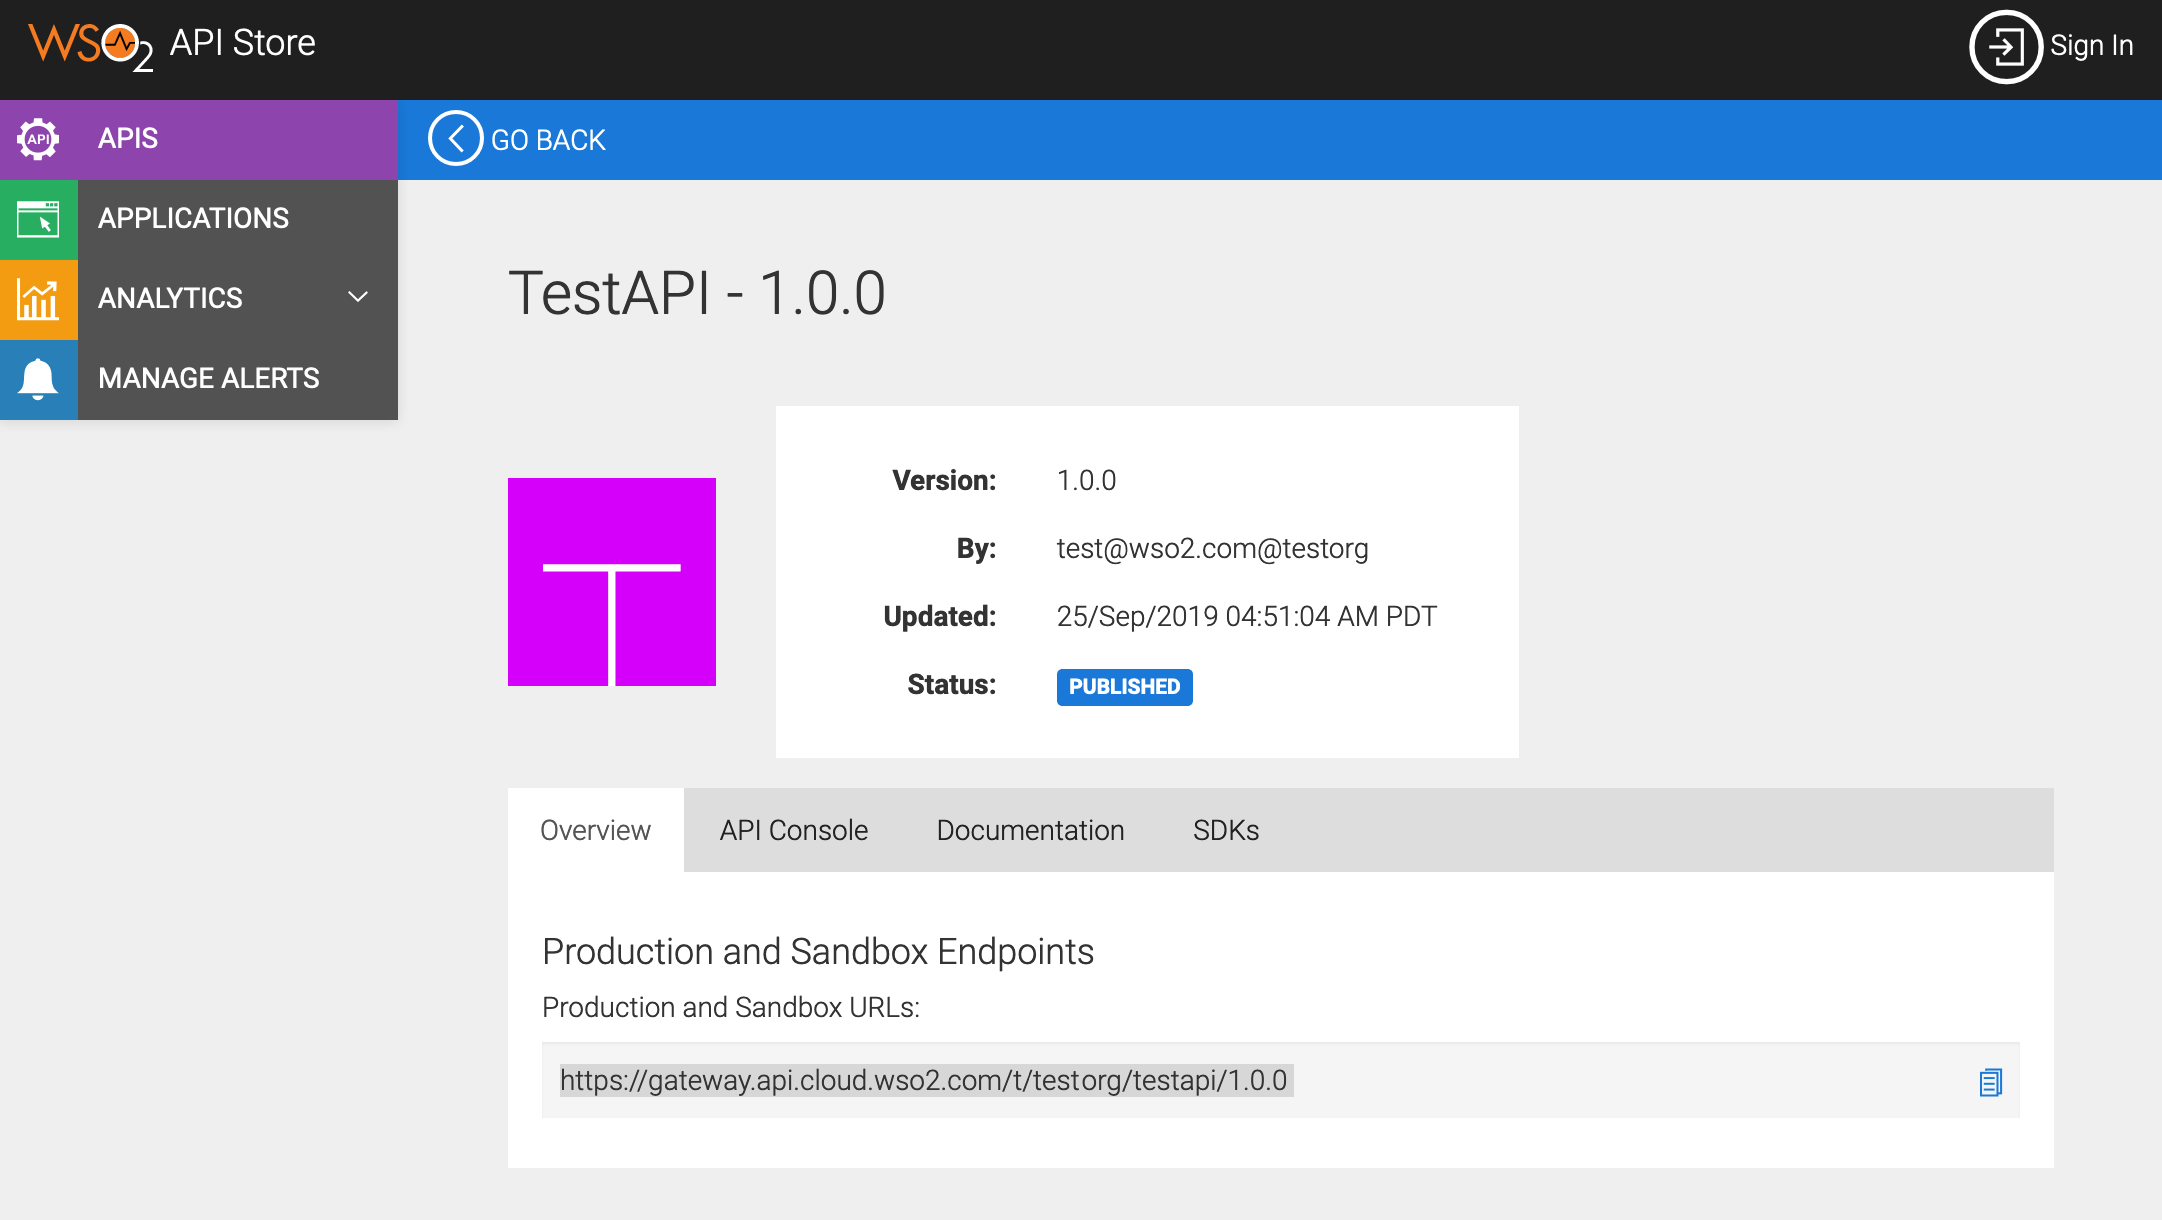
ancient.zip. - Sign in to WSO2 API Cloud. This takes you to the API Publisher Web application.
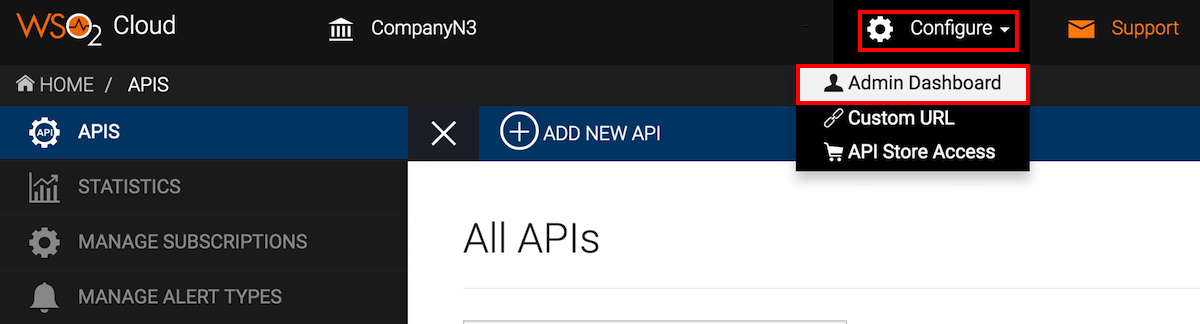
- Click Admin Dashboard under the Configure menu. This opens
the Admin Dashboard.
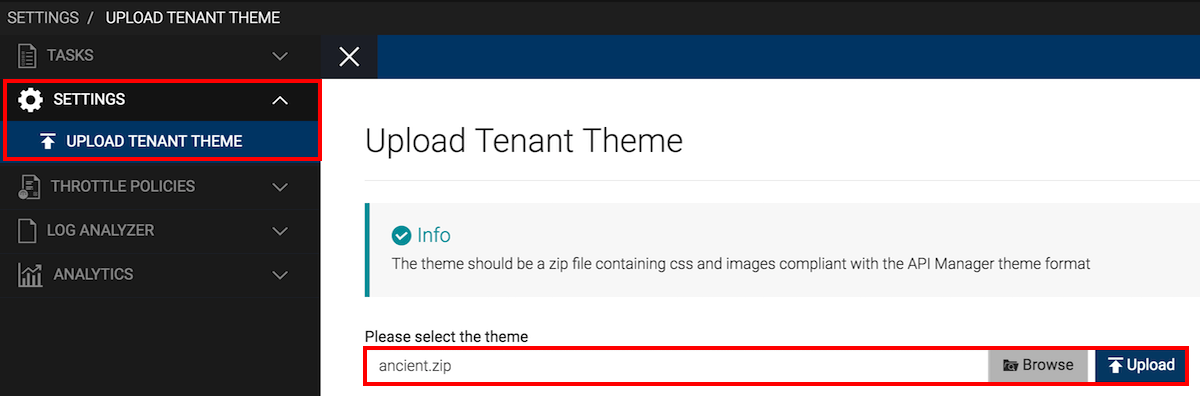
- Click SETTINGS and then click UPLOAD TENANT THEME .
- Upload your zip file (e.g., ancient.zip).
-
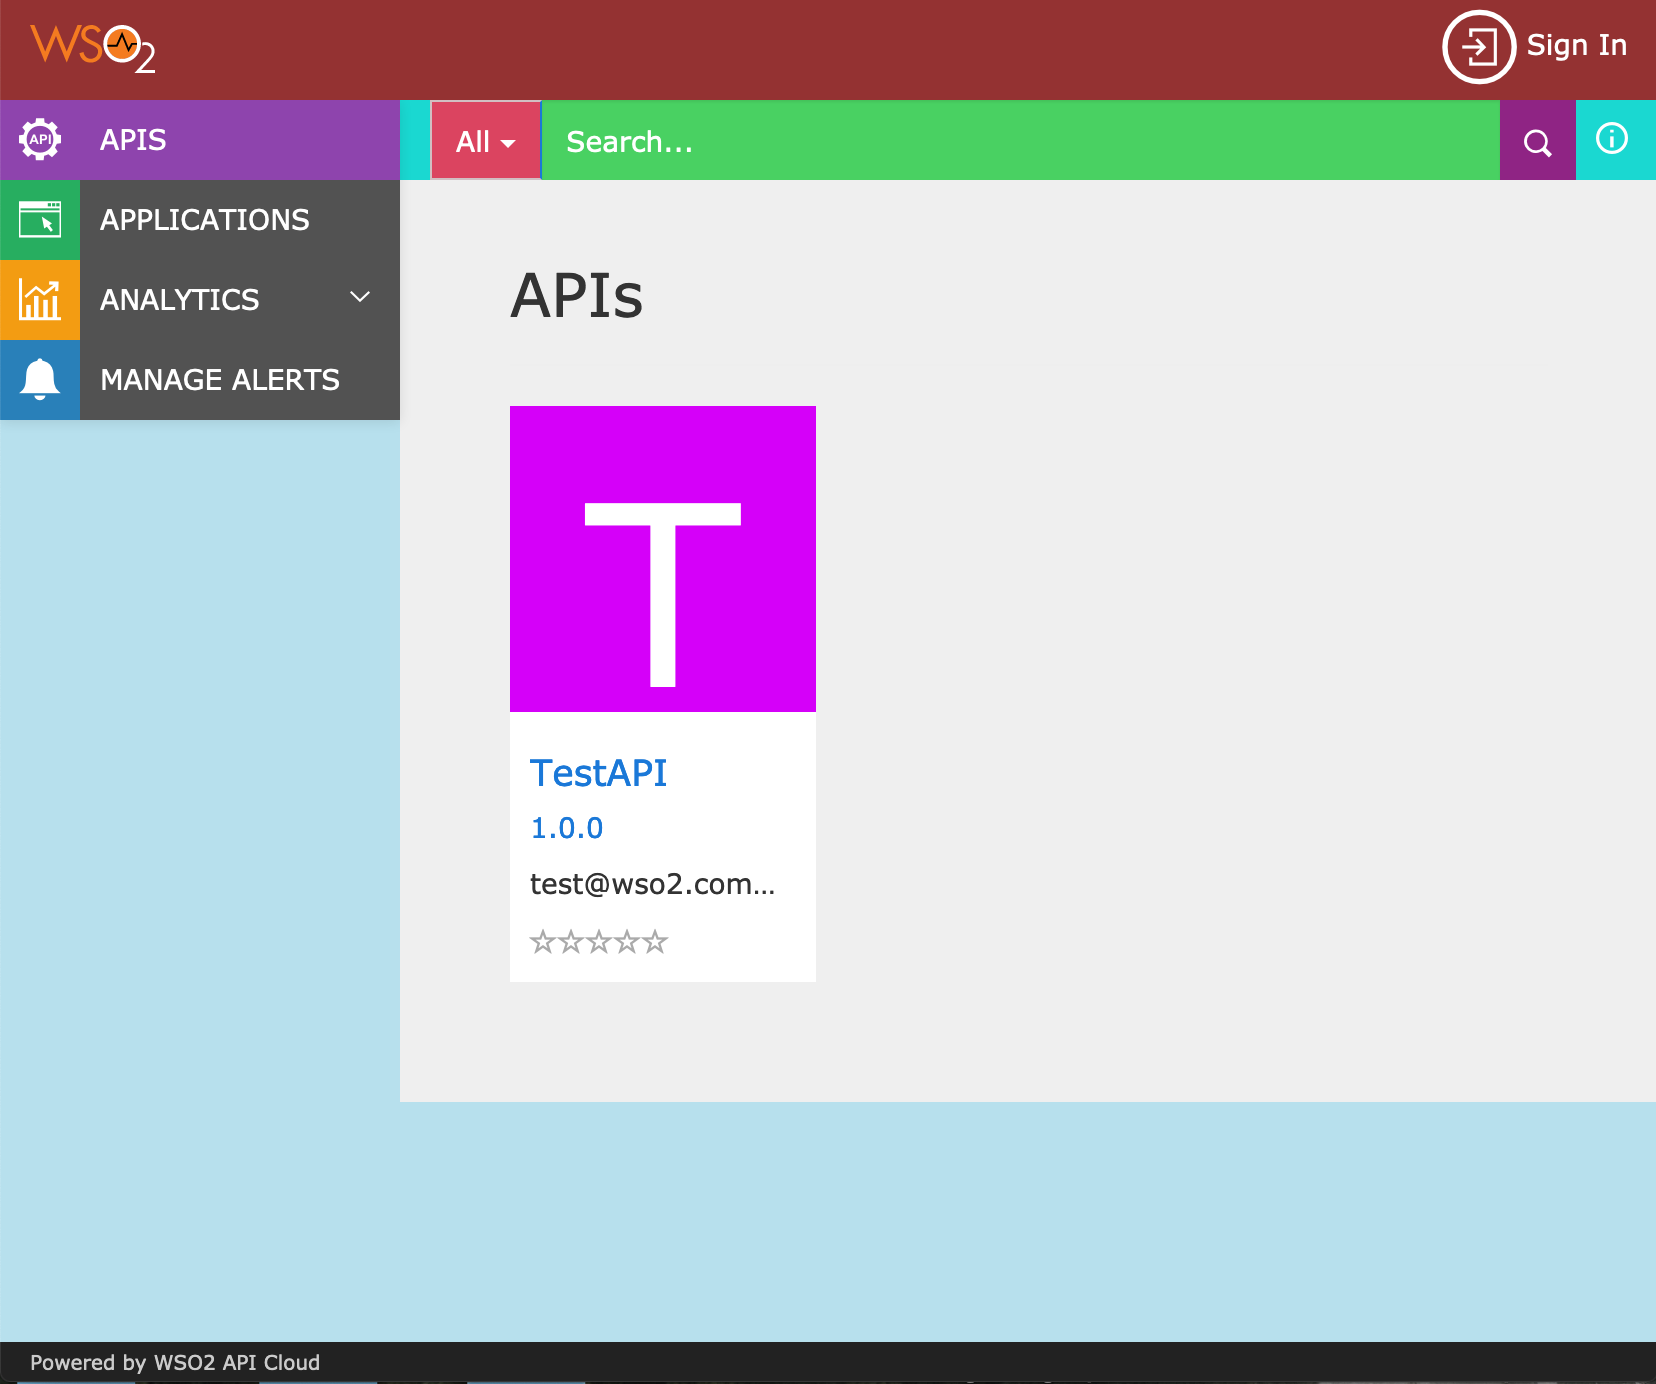
Open the API Store to take a look at the customizations that are applied.
Tip
Tip : It can take up to 15 minutes for a new theme to be applied to the API Store.
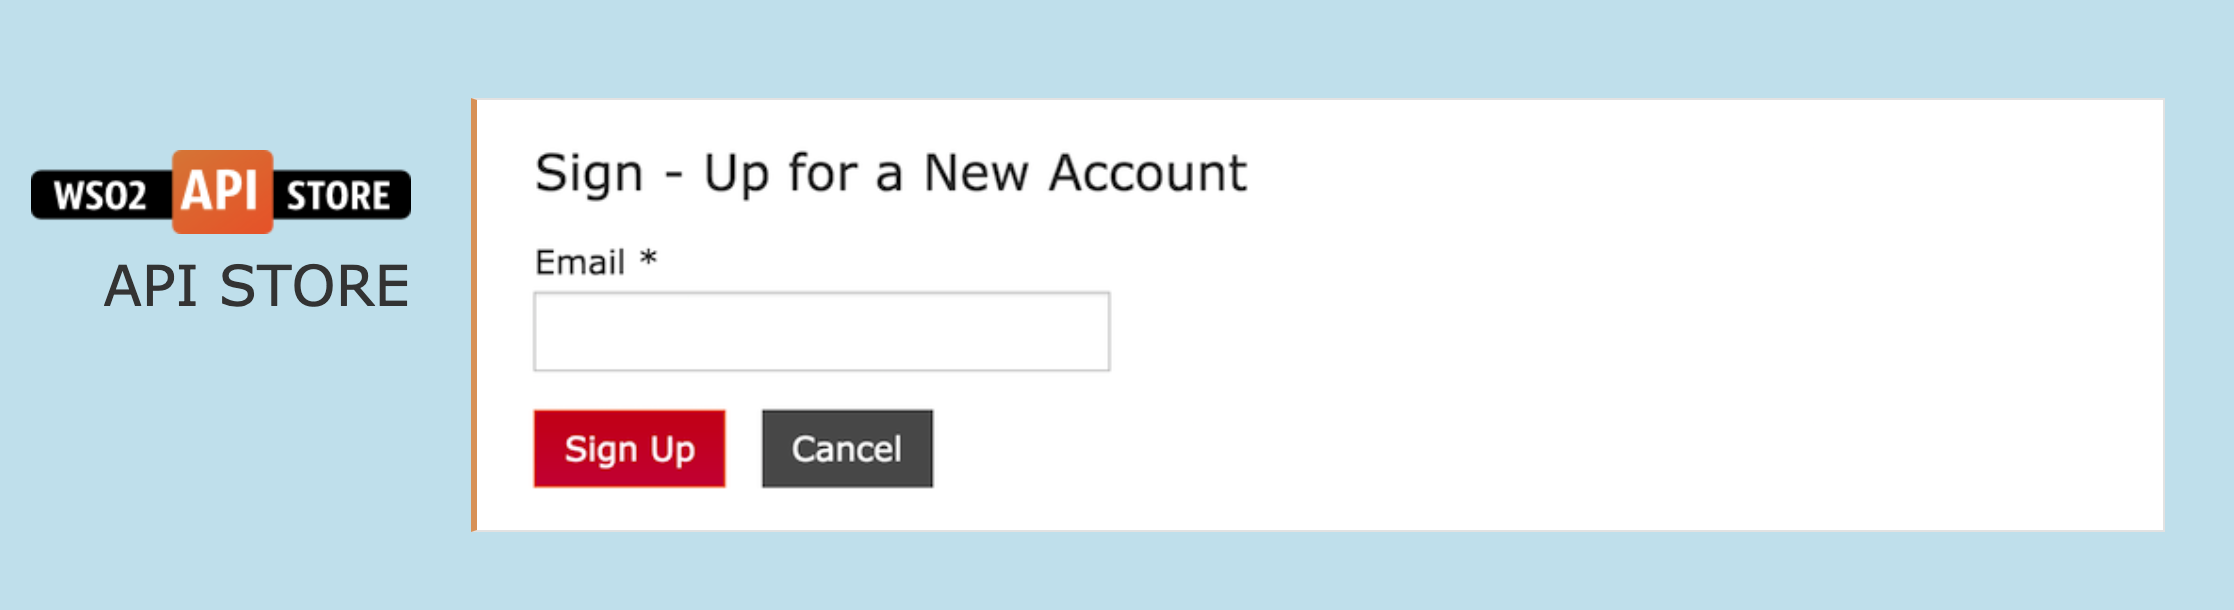
Similarly, open the sign up page to take a look at the customizations applied there.
Now you have successfully applied the most common customizations to the API Store.
Top