Pass a Custom Authorization Token to the Backend
When you send an API request to the backend, you pass a token in the Authorization header of the request. The API Gateway uses this token to authorize access, and then drops it from the outgoing message.
Let's take a look at how you can pass a custom authorization token that is different to the authorization token generated by WSO2 API Cloud to the backend.
Note
Here we will use the WSO2 API Manager Tooling Plug-in to demonstrate passing a custom authorization token to the backend.
Let's assume you have a sample JAX-RS backend deployed in the
Cloud and it always expects 1234 as the authorization token. In your API
request, you pass the token that is generated by WSO2 API Cloud in the
Authorization header, and 1234 in a
Custom header. The mediation extension you write
extracts the value of the Custom header, and sets
it as the Authorization header before sending it
to the backend.
Here's a summary:
Client (headers: Authorization, custom) -> Gateway (drop: Authorization, convert: custom->Authorization) -> Backend
Let's get started.
-
Follow the steps here to download and install the WSO2 API Manager Tooling Plug-in
-
Open Eclipse after installation.
-
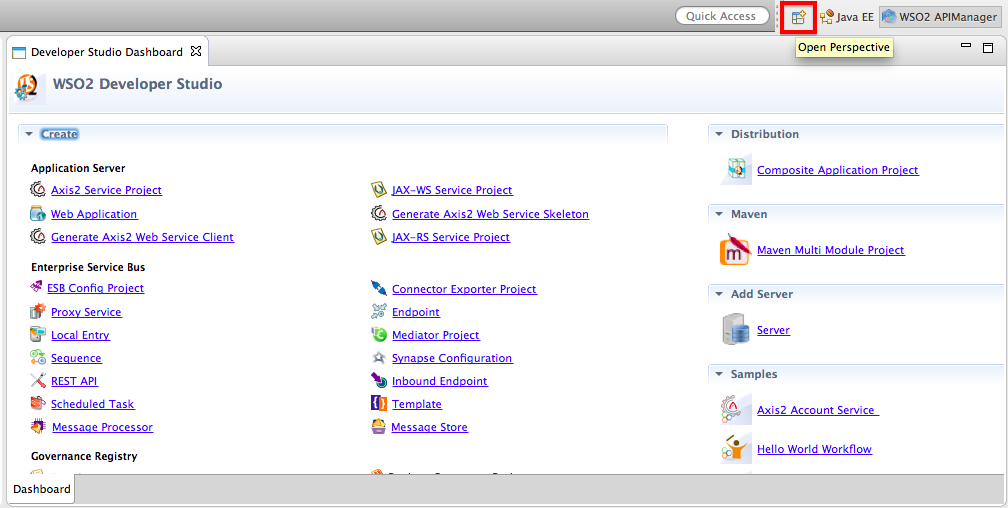
Click Window > Open Perspective > Other to open the Eclipse perspective selection window. Alternatively, click the Open Perspective icon shown below at the top right corner.
-
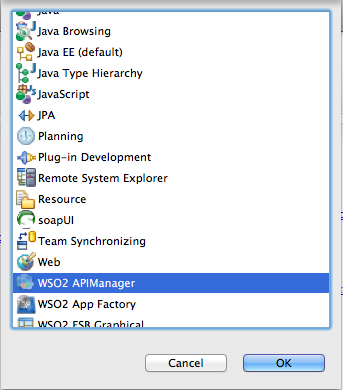
On the dialog box that opens, click WSO2 APIManager and click OK .
-
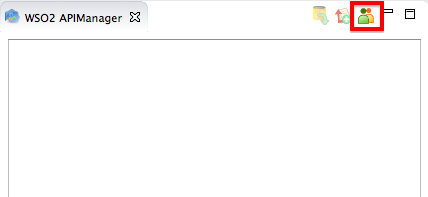
On the APIM perspective, click the Sign in as depicted below:
-
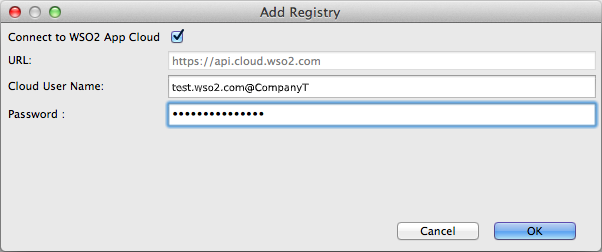
On the dialog box that opens, enter the cloud URL, username (in the format
<email@company_name>), and password of the Publisher.
-
On the tree view that appears, expand the folder structure of the existing API.
-
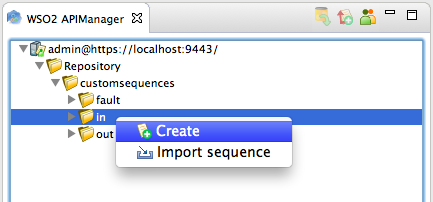
Right-click on the
insequence folder and click Create to create a newinsequence.
-
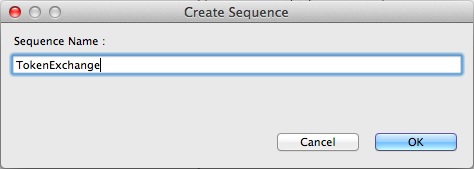
Name the sequence
TokenExchange.
-
Your sequence now appears on the APIM perspective. From under the Mediators section, drag and drop a Property mediator to your sequence and give the following values to the mediator.
Tip
The Property Mediator has no direct impact on a message, but rather on the message context flowing through Synapse. For more information, see Property Mediator in the WSO2 Enterprise Integrator documentation.
Property Name New Property New Property Name Custom Value Type EXPRESSION Value Expression get-property('transport', 'Custom') 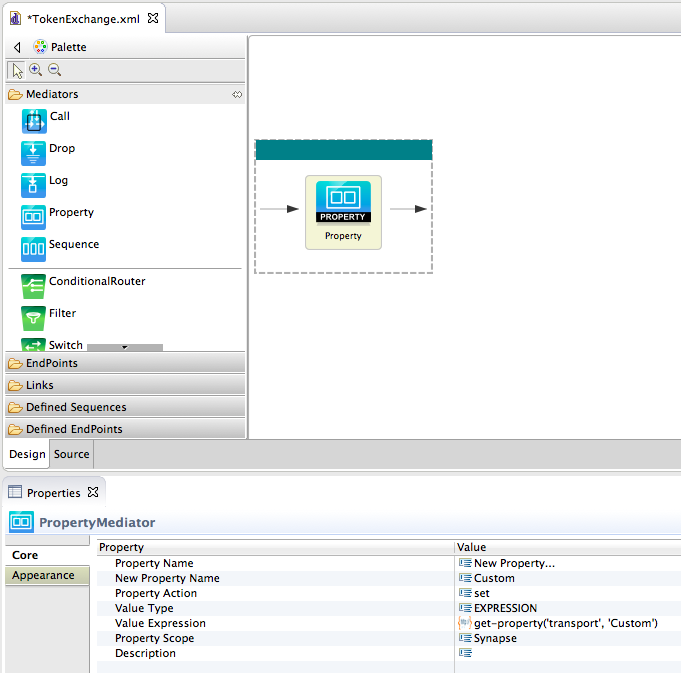
-
Similarly, add another Property mediator to your sequence and give the following values to the mediator.
Property Name New Property New Property Name Authorization Value Type EXPRESSION Value Expression get-property('Custom') Property Scope transport -
Add a third Property mediator to your sequence and give the following values to the mediator.
Property Name New Property New Property Name Custom Property Action remove Property Scope transport 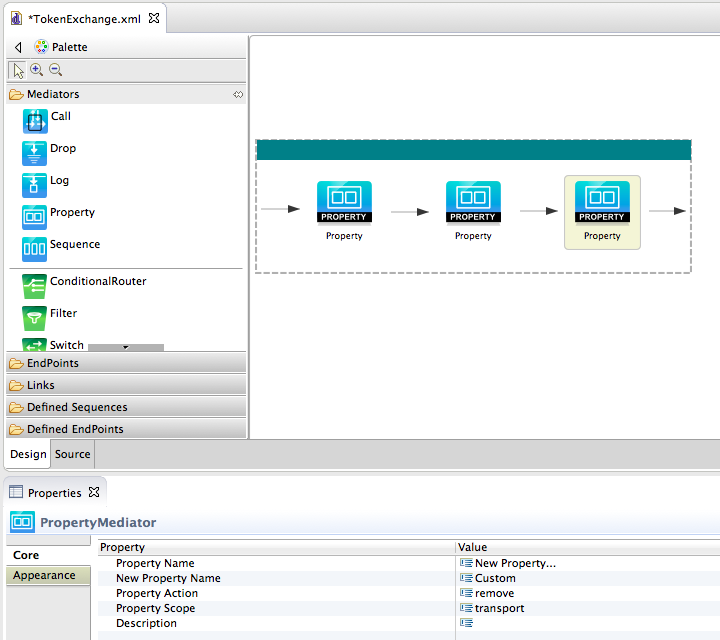
-
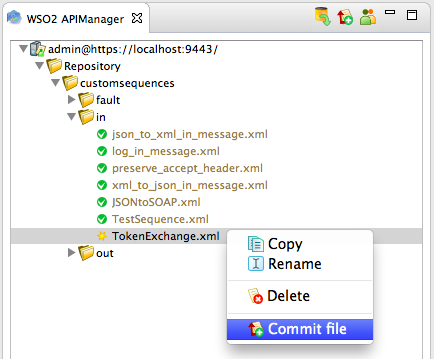
Save the sequence.
-
Right-click on the sequence and click Commit File to push the changes to the Publisher server.
Let's create a new API and engage the sequence you created to it.
-
Sign in to the API Publisher, click the Add link, and specify the Values as in the table below.
Field Sample value Name TestAPI1 Context /test1 Version 1.0.0 Visibility Public 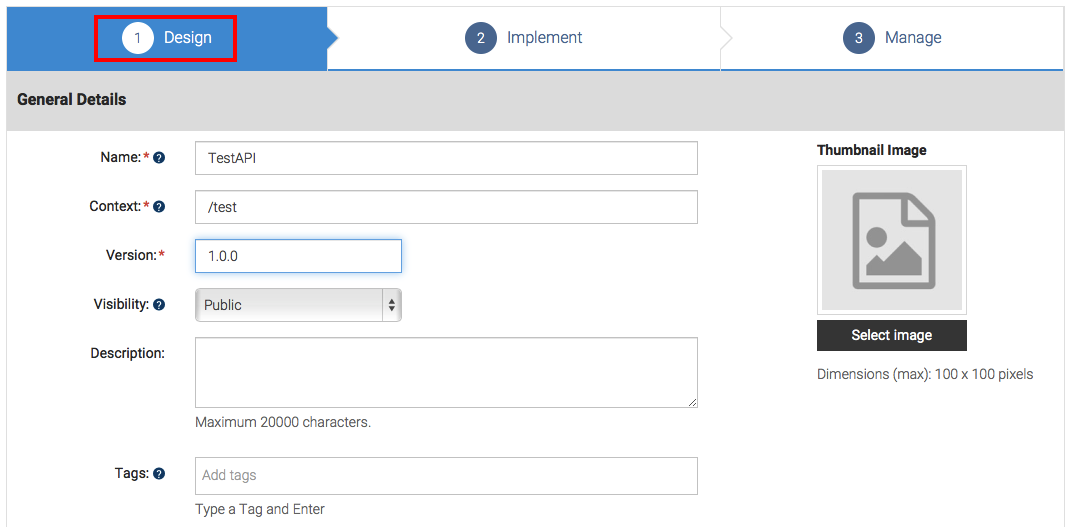
-
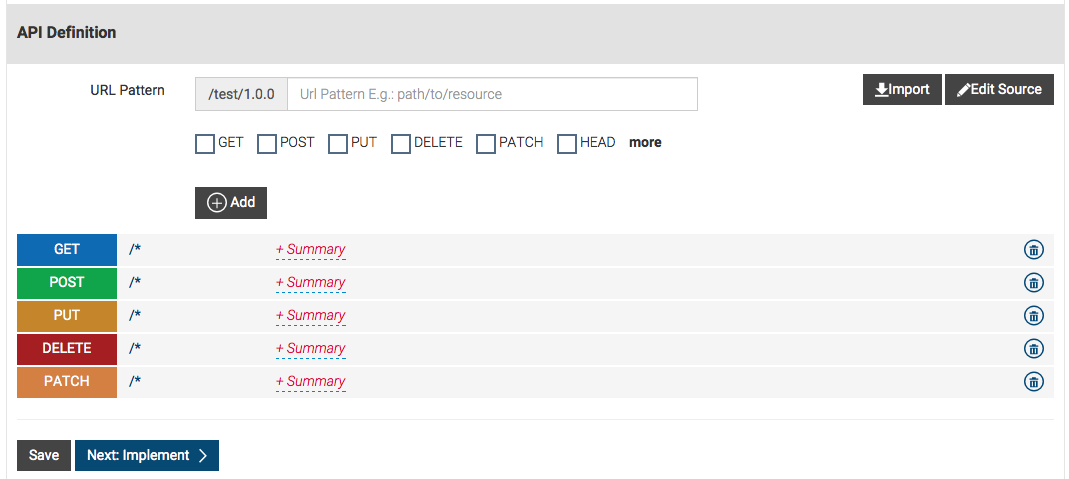
Leave the Resources section blank, and click Implement. When prompted, add a wildcard resource
(/*). Then click Yes and finally click Implement again to move to the Implement tab.
-
In the Implement tab, give the information in the table below.
Field Sample value Endpoint type HTTP endpoint Production endpoint http://wso2cloud-custom-auth-header-sample-1-0-0.wso2apps.com/custom-auth-header/validate-header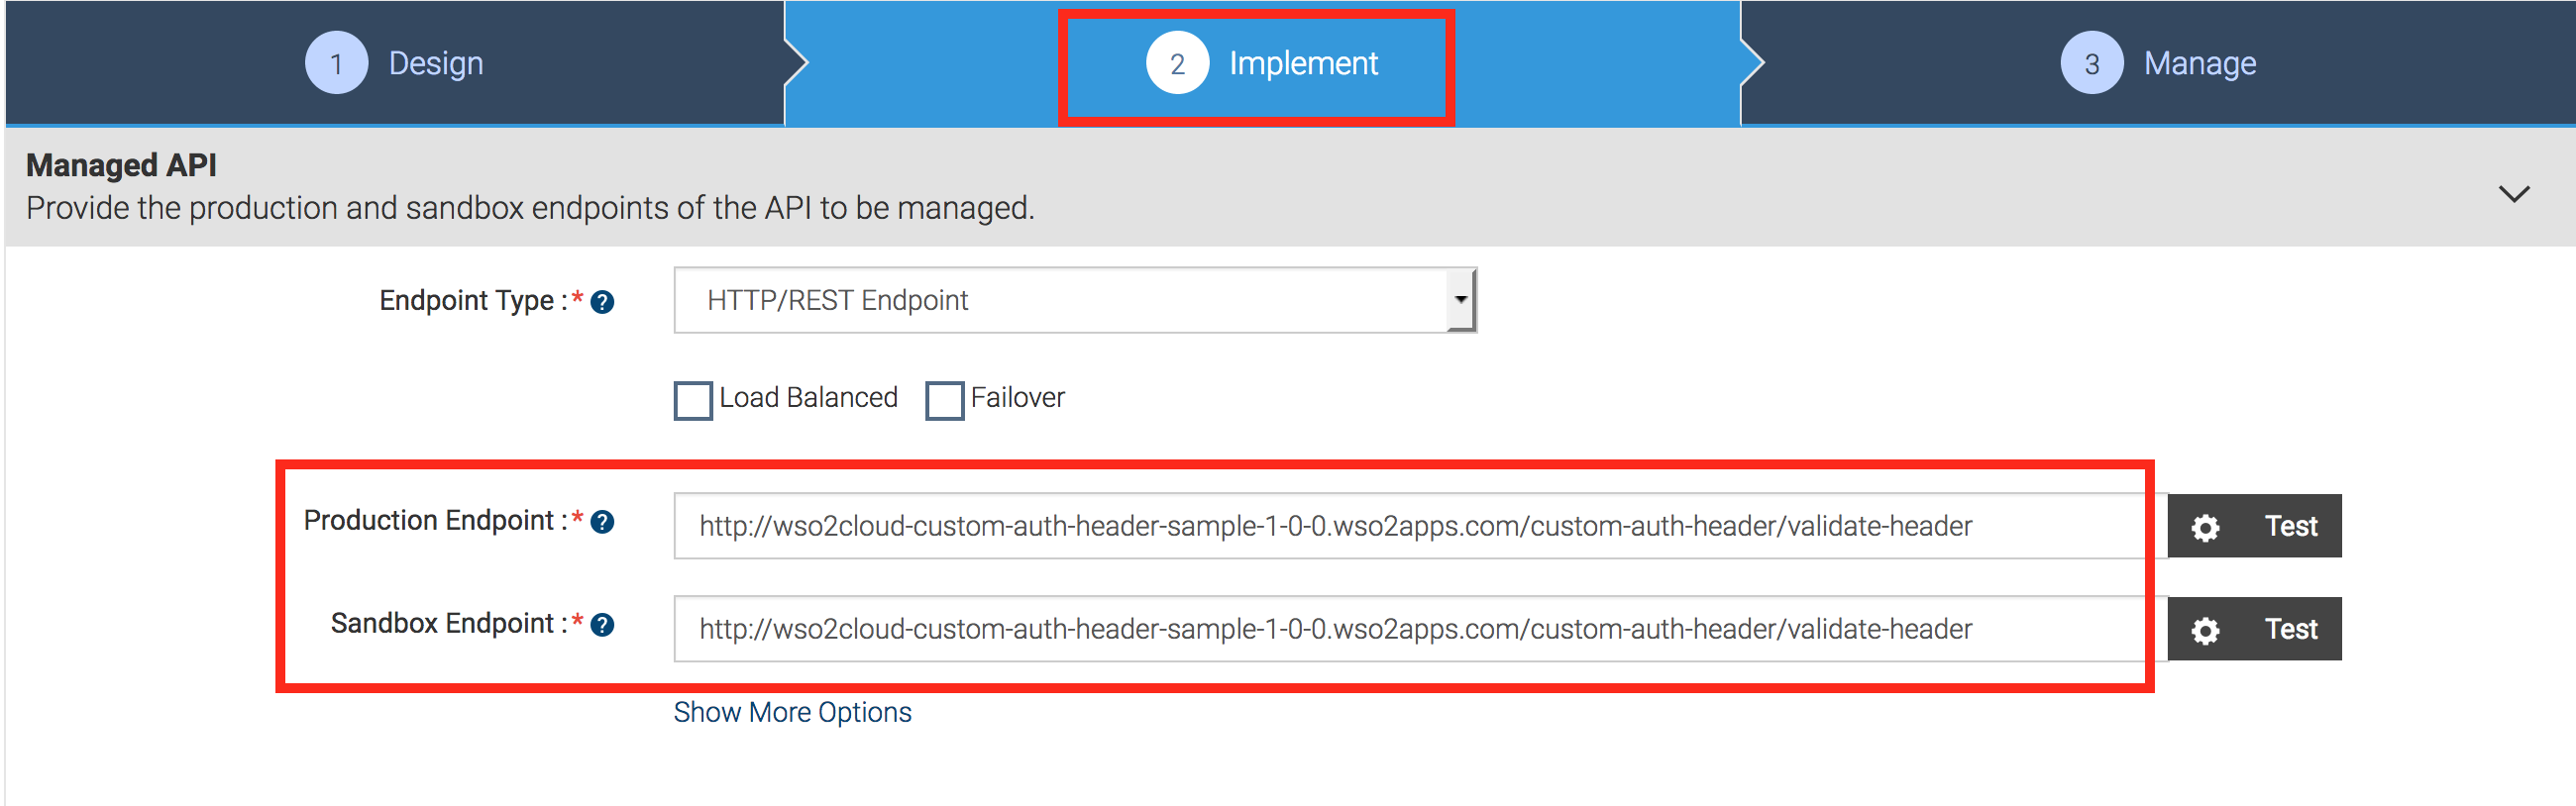
-
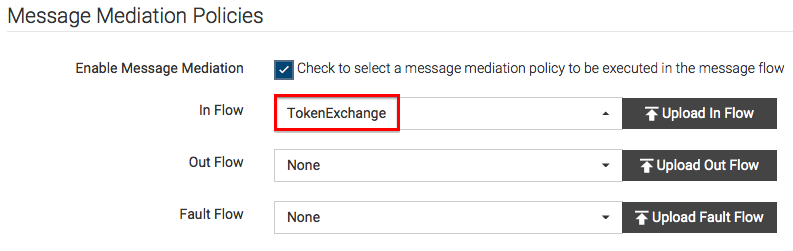
Select the Enable Message Mediation check box, engage the
Insequence that you created earlier, and click Manage.
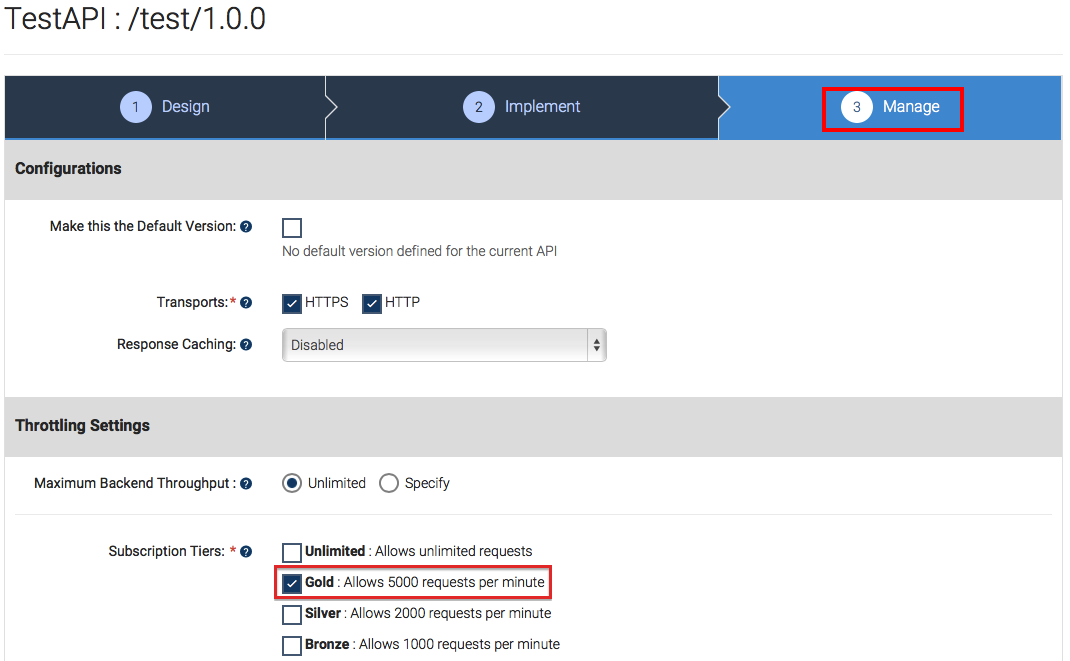
-
In the Manage tab, select the Gold tier.
-
Click Save and Publish to publish the API to the API Store.
Let's subscribe to the API and invoke it. -
Click Go to API Store at the top right-hand corner of the screen to navigate to the API Store. If you have not signed in already, use the same credentials that you used to sign in to WSO2 API Cloud.
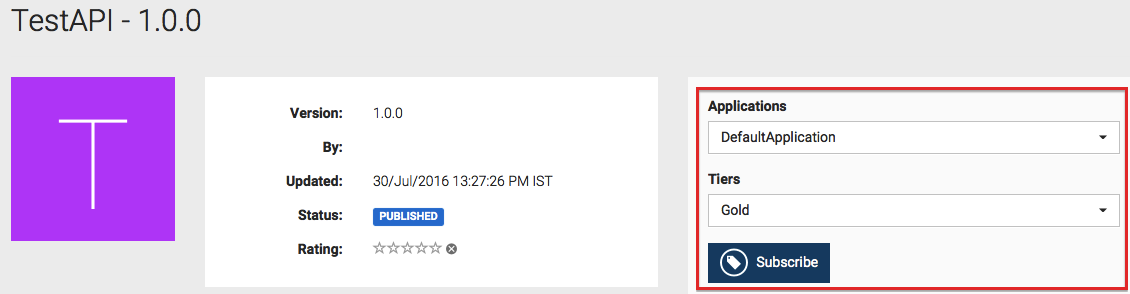
-
Click TestAPI1 , and subscribe to the API using an available application and the Gold tier. If there are no applications available by default, go ahead and create one by following the UI guided instructions.
-
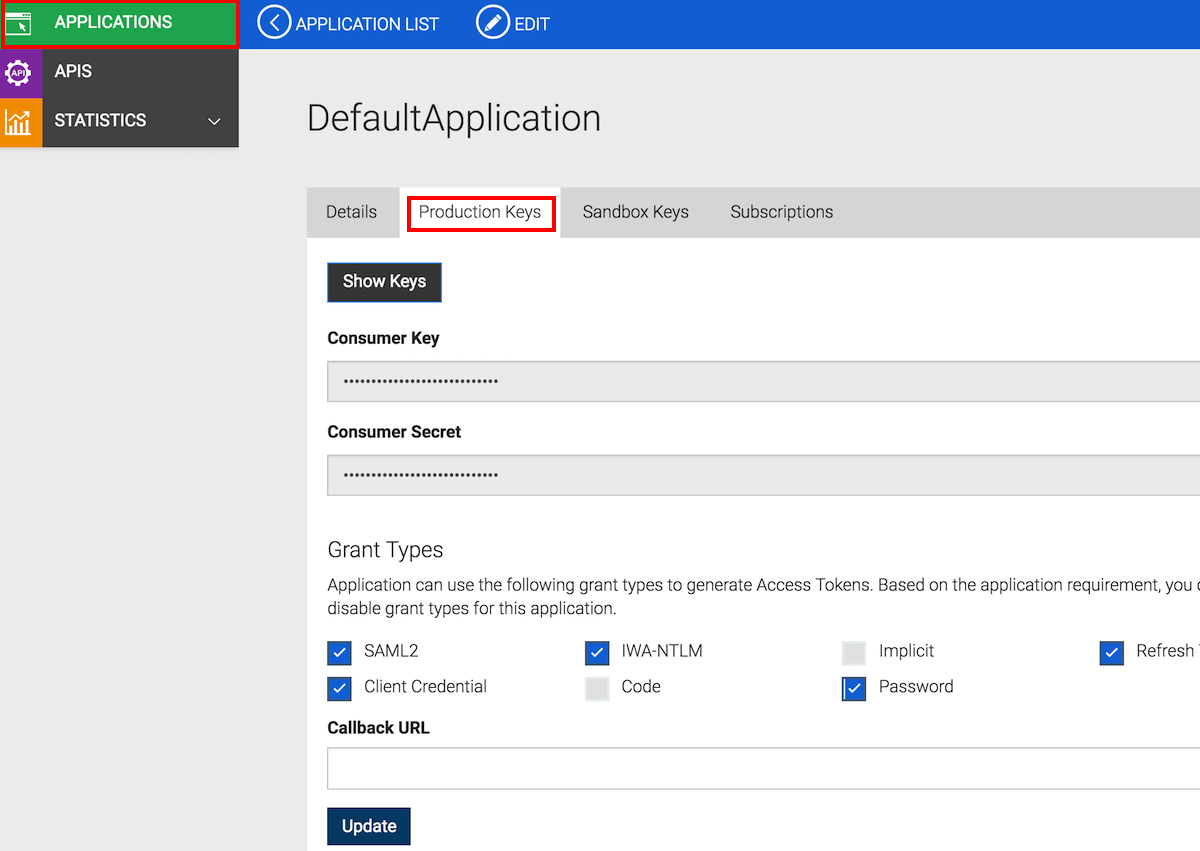
Click the APPLICATIONS menu, and click the application that you used to subscribe to the API with (
DefaultApplication, in this example). Go to its Production Keys tab, and re-generate its access token. By default, access tokens expire an hour after application creation.
-
Install any REST client on your machine. We use cURL here.
-
Go to the command-line, and invoke the API using the following cURL command. In this command, you pass the token that the backend expects, i.e., 1234, in the **
Custom** header with the authorization token that the system generates in theAuthorizationheader.curl -H "Authorization: Bearer <access token>" -H "Custom: Bearer 1234" <API URL>Note the following:
- access token is the token that you got in step 20.
- API URL appears on the API's Overview page in the API Store. Copy the HTTP endpoint. If you select the HTTPs endpoint, be sure to run the cURL command with the -k option.
Here's an example:
curl -H "Authorization: Bearer DNp94L7mAT0e3Oj0QuUxOrmSIt0a" -H "Custom: Bearer 1234" 'http://gateway.api.cloud.wso2.com:8280/t/companyn1/test1/1.0.0' -
Note the response that you get in the command line. According to the sample backend used in this tutorial, you get the below response.
{"code":200,"message":"Authorization header validation successful"}
Now you have passed a custom token that the backend expects along with the system-generated Authorization token, and invoked an API successfully by swapping the system's token with your custom token.
Top