Create Custom Roles
Roles contain permissions for users. They can be reused and they eliminate the overhead of having to grant permission to users individually. You can define different user roles depending on your organization requirement.
Follow the instructions below to add a custom role to your organization.
- Go to http://cloud.wso2.com, sign in with your credentials, and select your organization when prompted. This opens the WSO2 API Publisher portal.
-
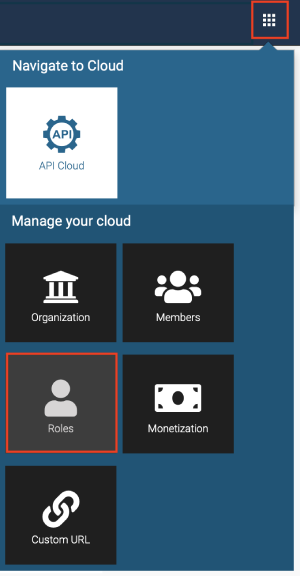
Click the settings icon on the upper right-hand corner of the UI and then select Roles.

-
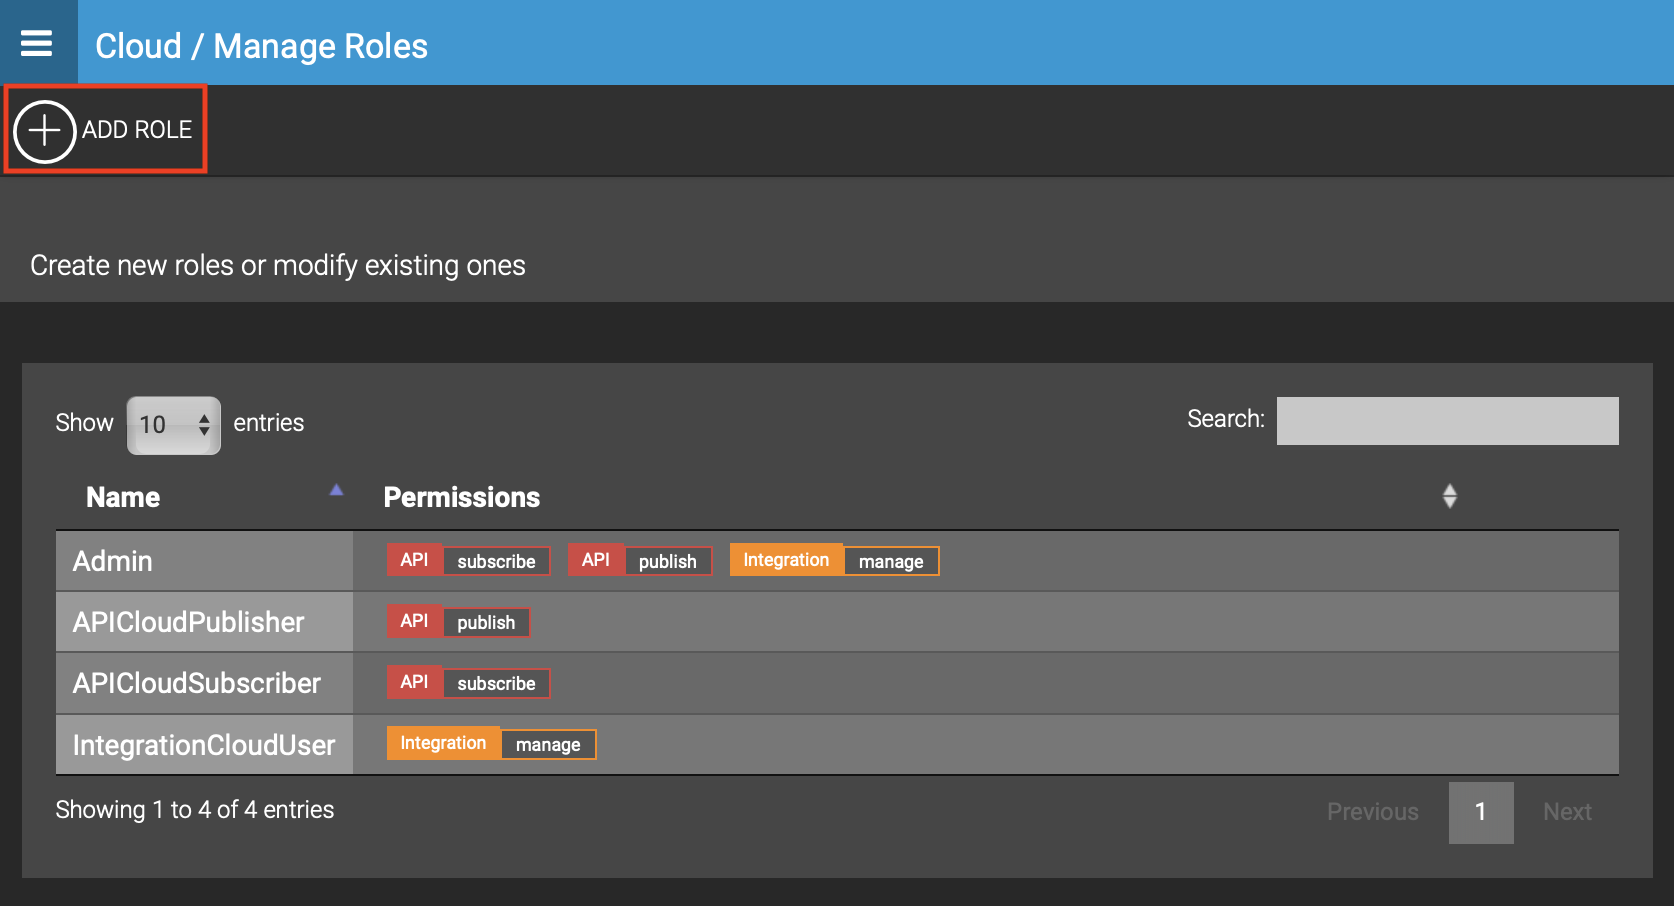
Click Add Role.

-
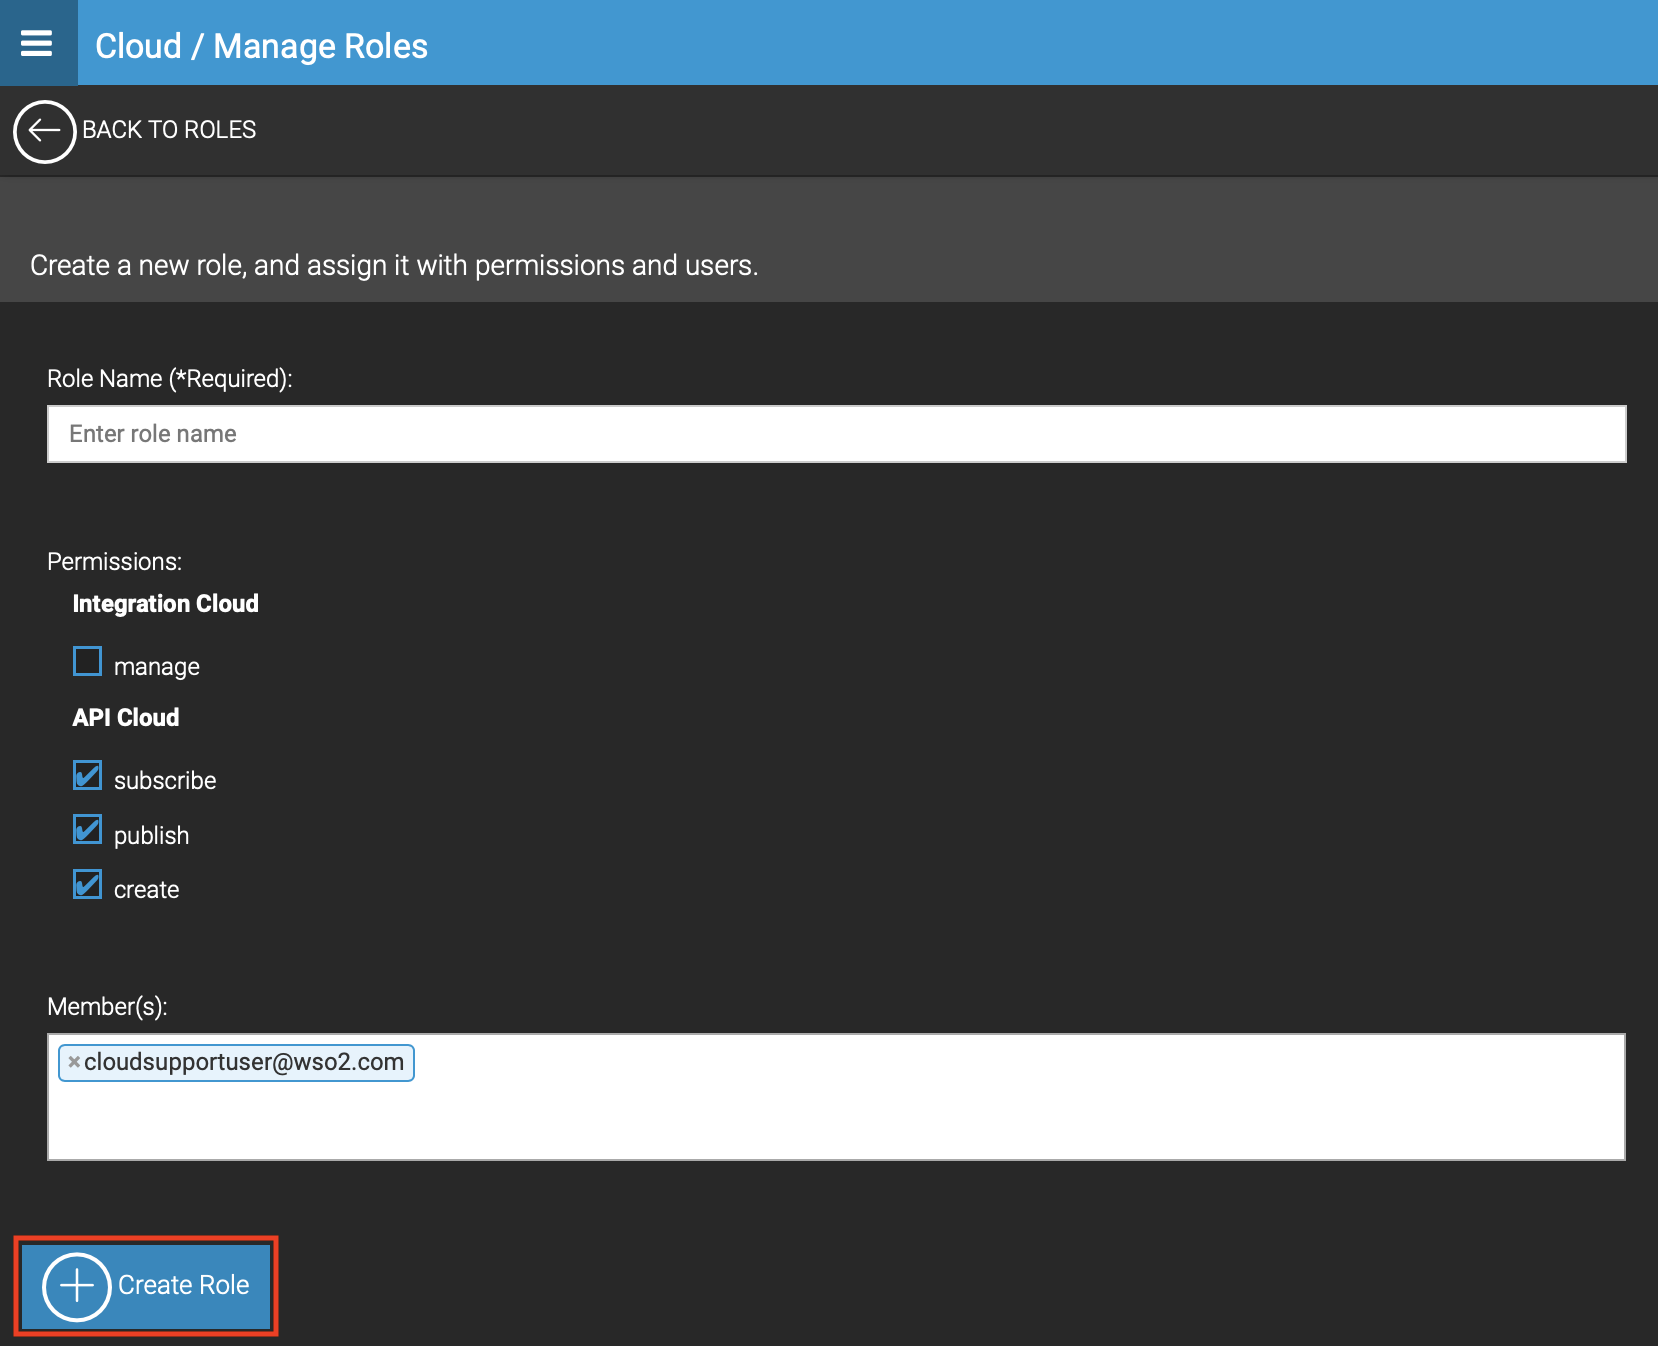
Specify an appropriate Role Name and the Permissions to be granted. To add a custom role to members of your organization, provide their email address.
Note
You can only assign roles to users who have been already added to your organization. You need to add new members to the organization, before you assign custom roles to them. For details on how to add new members, see Add Members to Your Organization.
-
Click Create Role.

Now you have successfully created a custom role and assigned it to relevant members in your organization.
Top