Convert a JSON Message to SOAP and SOAP to JSON
Note
This tutorial uses the WSO2 API Manager Tooling Plug-in.
WSO2 API Cloud comes with a powerful mediation engine that can transform and orchestrate API calls on the fly. It is built on the WSO2 ESB and supports a variety of mediators that you can use as building blocks for your sequences.
You can provide an extension as a synapse mediation sequence to the API Gateway's default mediation flow to transform message formats.
In this tutorial you convert a request message with a JSON payload and a REST URL to a SOAP message, send it to the backend and then convert the request from the backend to JSON.
The examples here use the PhoneVerification API,
which is created by following the tutorial Create and Publish an
API. If you do not have this API or the
existing one is deprecated, simply create a new API with the backend as
http://ws.cdyne.com/phoneverify/phoneverify.asmx. It accepts both
SOAP and REST requests as shown
here.
Let's get started.
-
Sign in to WSO2 API Cloud with your credentials. This opens the API Publisher.
-
Click to edit the
PhoneVerificationAPI.

-
Add the following resource to the API.
Tip
The resource you create here invokes the SOAP 1.2 Web service of the backend. Therefore, the recommended method is HTTP POST. As you do not include the payload in a query string, avoid giving any specific name in the URL pattern, which will be amended to the actual backend URL.
Field Sample value Resources URL pattern: /*
Request types: POST 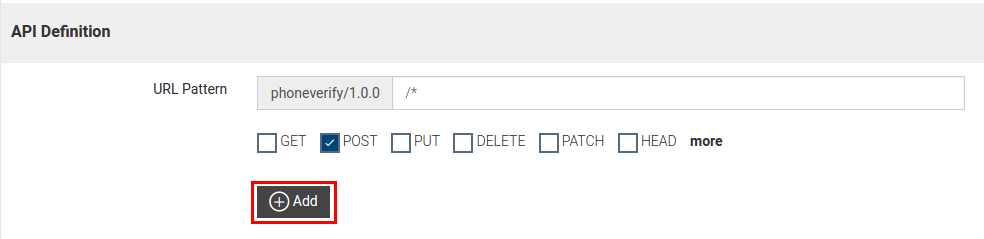
-
After the resource is added, expand it and note a parameter by the name payload already available. You can use this parameter to pass the payload to the backend. Edit its values as follows:
Parameter name Description Parameter Type Data Type Required payload Pass the phone number and license key body Empty True 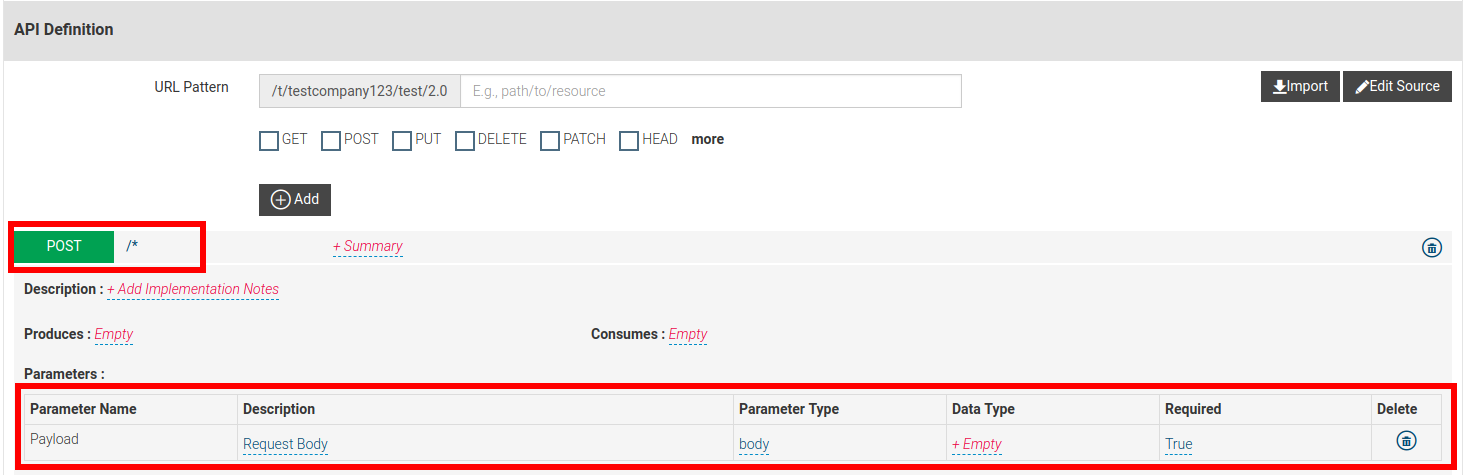
Next, let's write a sequence to convert the JSON payload to a SOAP request. We do this because the backend accepts SOAP requests.
-
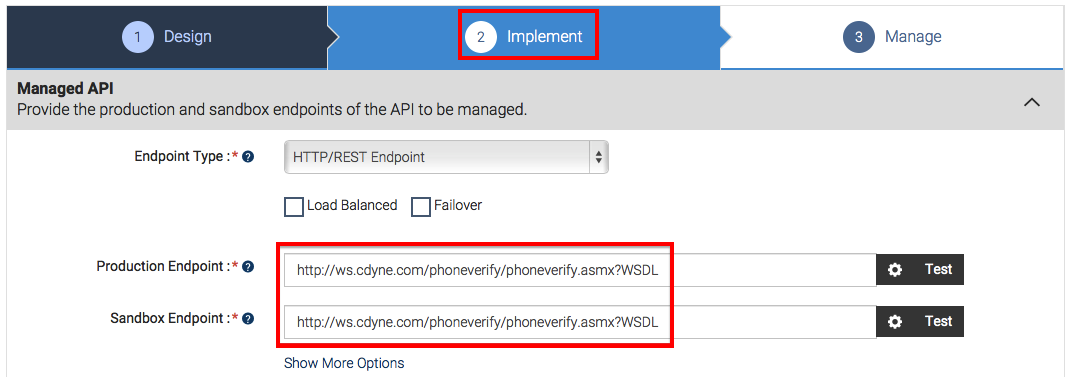
Navigate to the Implement page and change the endpoint of the API to http://ws.cdyne.com/phoneverify/phoneverify.asmx?WSDL . Once the edits are done, click Save .
-
Download and install the WSO2 API Manager Tooling Plug-in if you have not done so already. Open Eclipse by double clicking the
Eclipse.appfile inside the downloaded folder. -
Click Window > Open Perspective > Other to open the Eclipse perspective selection window. Alternatively, click Open Perspective on the top, right-hand corner.
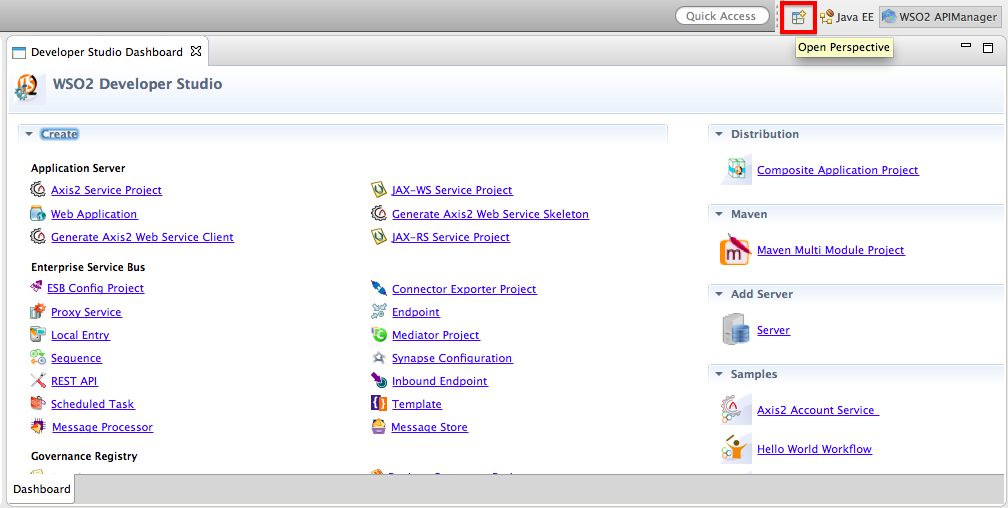
-
On the dialog box that appears, select WSO2 APIManager and click OK .

-
On the APIM perspective, click Sign in as shown below.
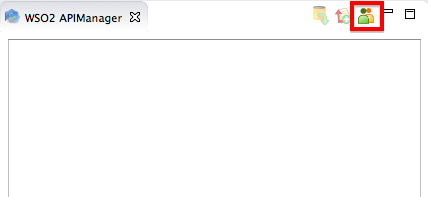
-
On the Add Registry dialog box that opens, specify your cloud user name (in the format
<email@company_name>) and password, and click OK.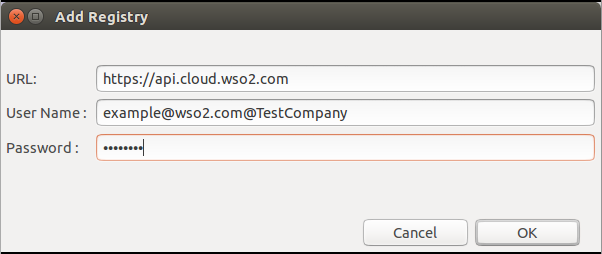
-
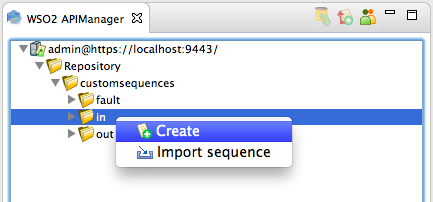
On the tree view that is displayed, expand the folder structure of the existing API.
-
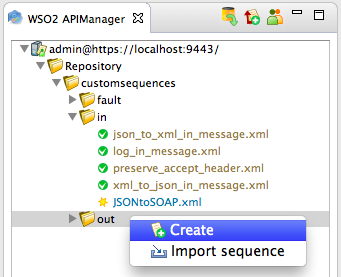
Right click on the
insequence folder and click Create to create a newinsequence.
-
Name the sequence as
JSONtoSOAP. Your sequence will now be visible on the APIM perspective. -
Under the Mediators section, drag and drop a PayloadFactory mediator to your sequence and specify the following values.
Tip
The PayloadFactory mediator transforms the content of your message. The
<args>elements define arguments that retrieve values at runtime by evaluating the provided expression against the SOAP body. You can configure the format of the request/response and map it to the arguments.For example, in the following configuration, the values for the format parameters
PhoneNumberandLicenseKeywill be assigned with values that are taken from the<args>elements (arguments,) in that particular order.For details on how you got this configuration, see PayloadFactory Mediator in the WSO2 ESB documentation.
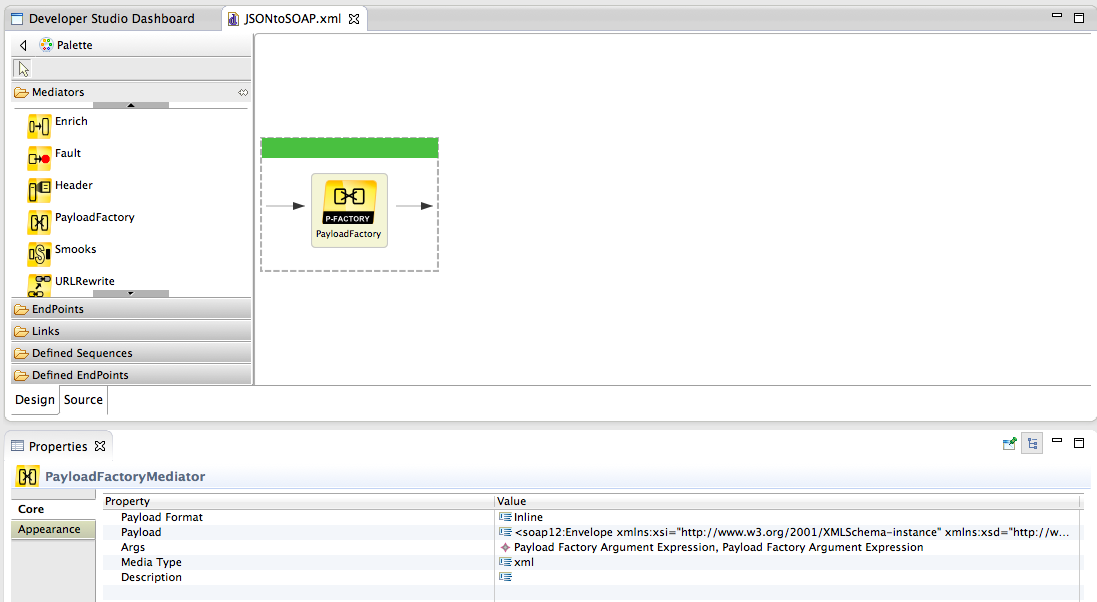
Payload <soap12:Envelope xmlns:xsi="http://www.w3.org/2001/XMLSchema-instance" xmlns:xsd="http://www.w3.org/2001/XMLSchema" xmlns:soap12="http://www.w3.org/2003/05/soap-envelope"> <soap12:Body> <CheckPhoneNumber xmlns="http://ws.cdyne.com/PhoneVerify/query"> <PhoneNumber>1<span class="kw"></PhoneNumber></span></a> <a class="sourceLine" id="cb1-5" title="5"> <span class="kw"><LicenseKey></span>2</LicenseKey> </CheckPhoneNumber> </soap12:Body> </soap12:Envelope>Args Give the following arguments:
Type Value Evaluator expression //request/PhoneNumberxml expression //request/LicenseKeyxml -
Similarly, add a Property mediator to the same sequence and give the following values to the property mediator.
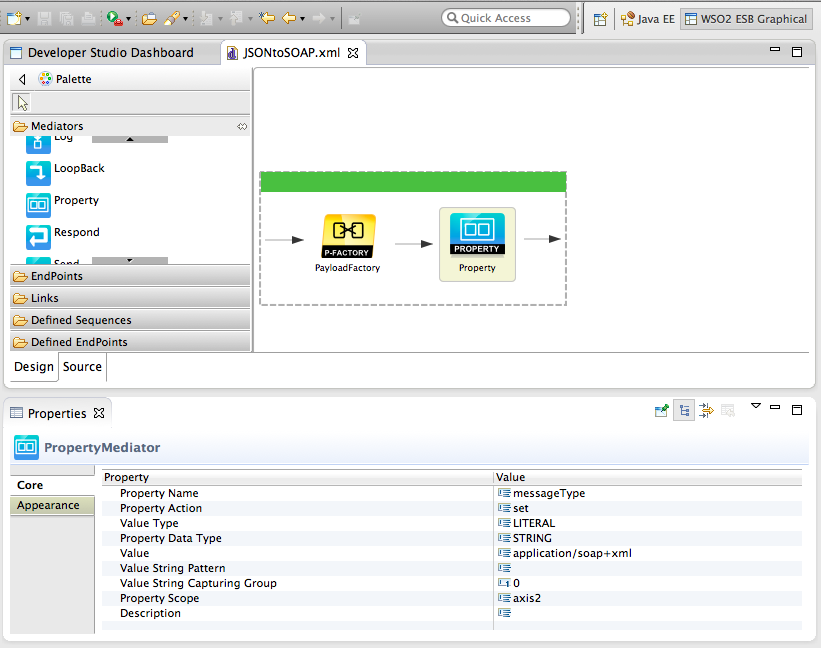
Property Name messageType Value Type Literal Value application/soap+xml Property Scope axis2 -
Save the sequence, which is in XML format (e.g.,
JSONtoSOAP.xml). This will be theInsequence for your API. Next, create anoutsequence. -
Right-click on the
outsequence folder and click Create to create a newoutsequence.
-
Name the sequence
SOAPtoJSON. Add a Property mediator to the sequence and give the following values to the property mediator.Property Name messageType Value Type Literal Value application/json Property Scope axis2 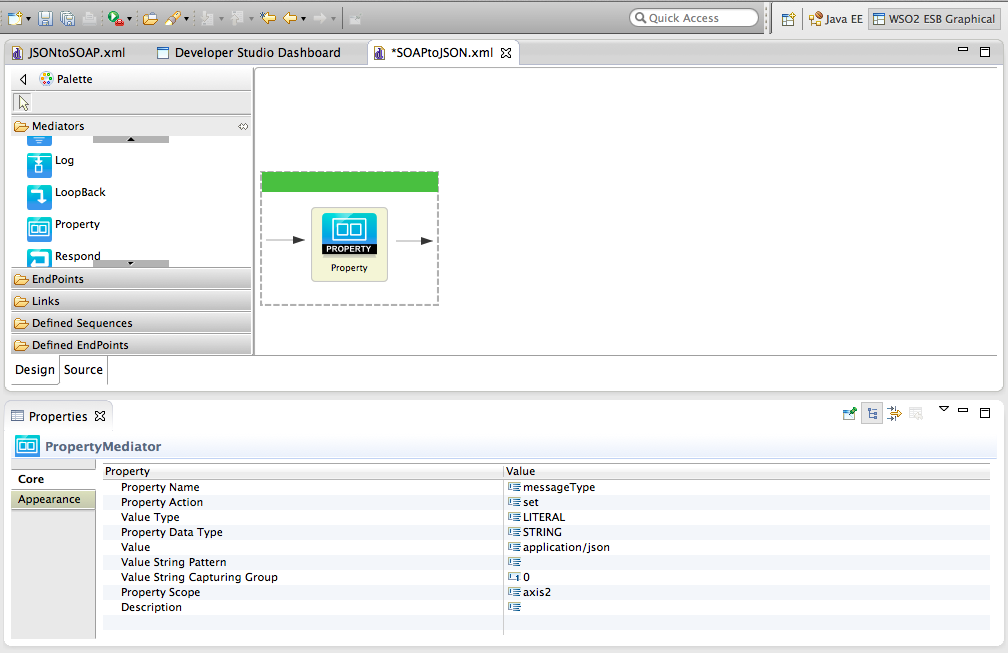
-
Save the sequence, which is in XML format (e.g.,
SOAPtoJSON.xml). This will be theOutsequence for your API. -
Click the Push all changes to the server icon shown below to commit your changes to the Publisher server.

-
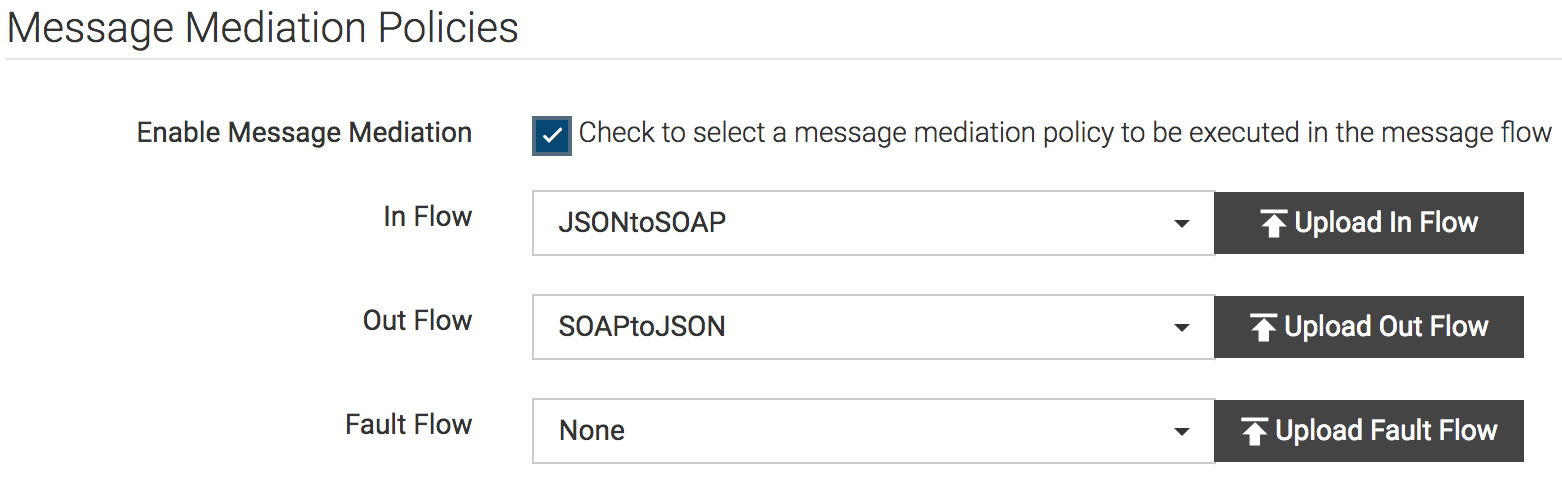
Sign back in to the API Publisher, click to Edit the API, navigate to the Implement tab, select Enable Message Mediation and engage the
Inandoutsequences that you created earlier.
-
Save the API.
You have created an API, a resource to access the SOAP backend and engaged sequences to the request and response paths to convert the message format from JSON to SOAP and back to JSON. Let's subscribe to the API and invoke it. -
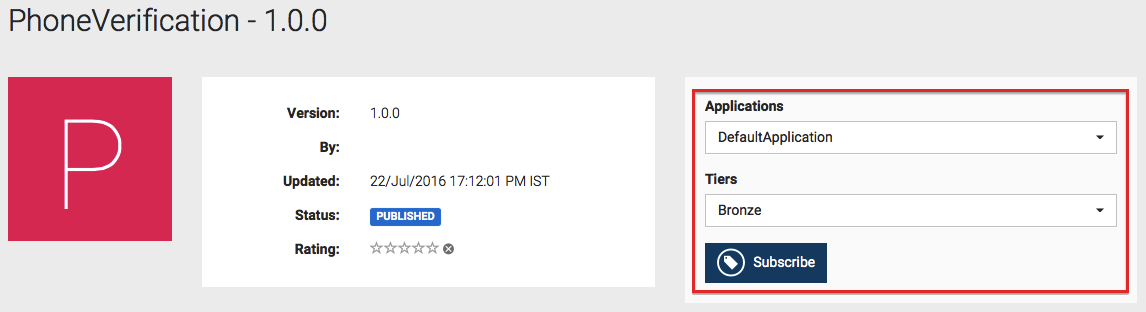
Sign in to the API Store and subscribe to the API and create an access token if you have not done so already.
-
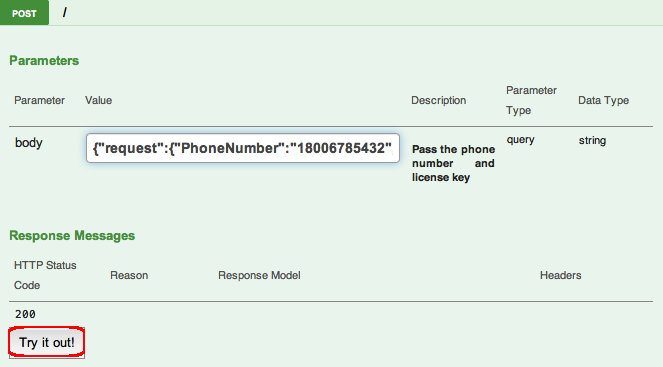
Go to the API Console tab and expand the POST method.
-
Provide the payload in the
bodyparameter in JSON format and click Try it out. Here's a sample JSON payload: {"request":{"PhoneNumber":"18006785432","LicenseKey":"0"}}
-
Note that you get a JSON response to the JSON request whereas the backend accepts SOAP messages. The request and response are converted by the sequences that you engaged at the API Gateway.

In this tutorial, you converted a message from JSON to SOAP and back to
JSON using In and Out sequences.