Create and Publish an API
API creation is the process of linking an existing backend API implementation to the API Publisher so that you can manage and monitor the API's lifecycle, documentation, security, community, and subscriptions. Alternatively, you can provide the API implementation in-line in the API Publisher itself.
In this tutorial , you create an API using a production endpoint and publish it to the API Store.
Let's get started.
- If you have not registered to the API Cloud yet, go to https://cloud.wso2.com/ and sign up.
- Sign in to WSO2 API Cloud and the API Publisher web application will open automatically.
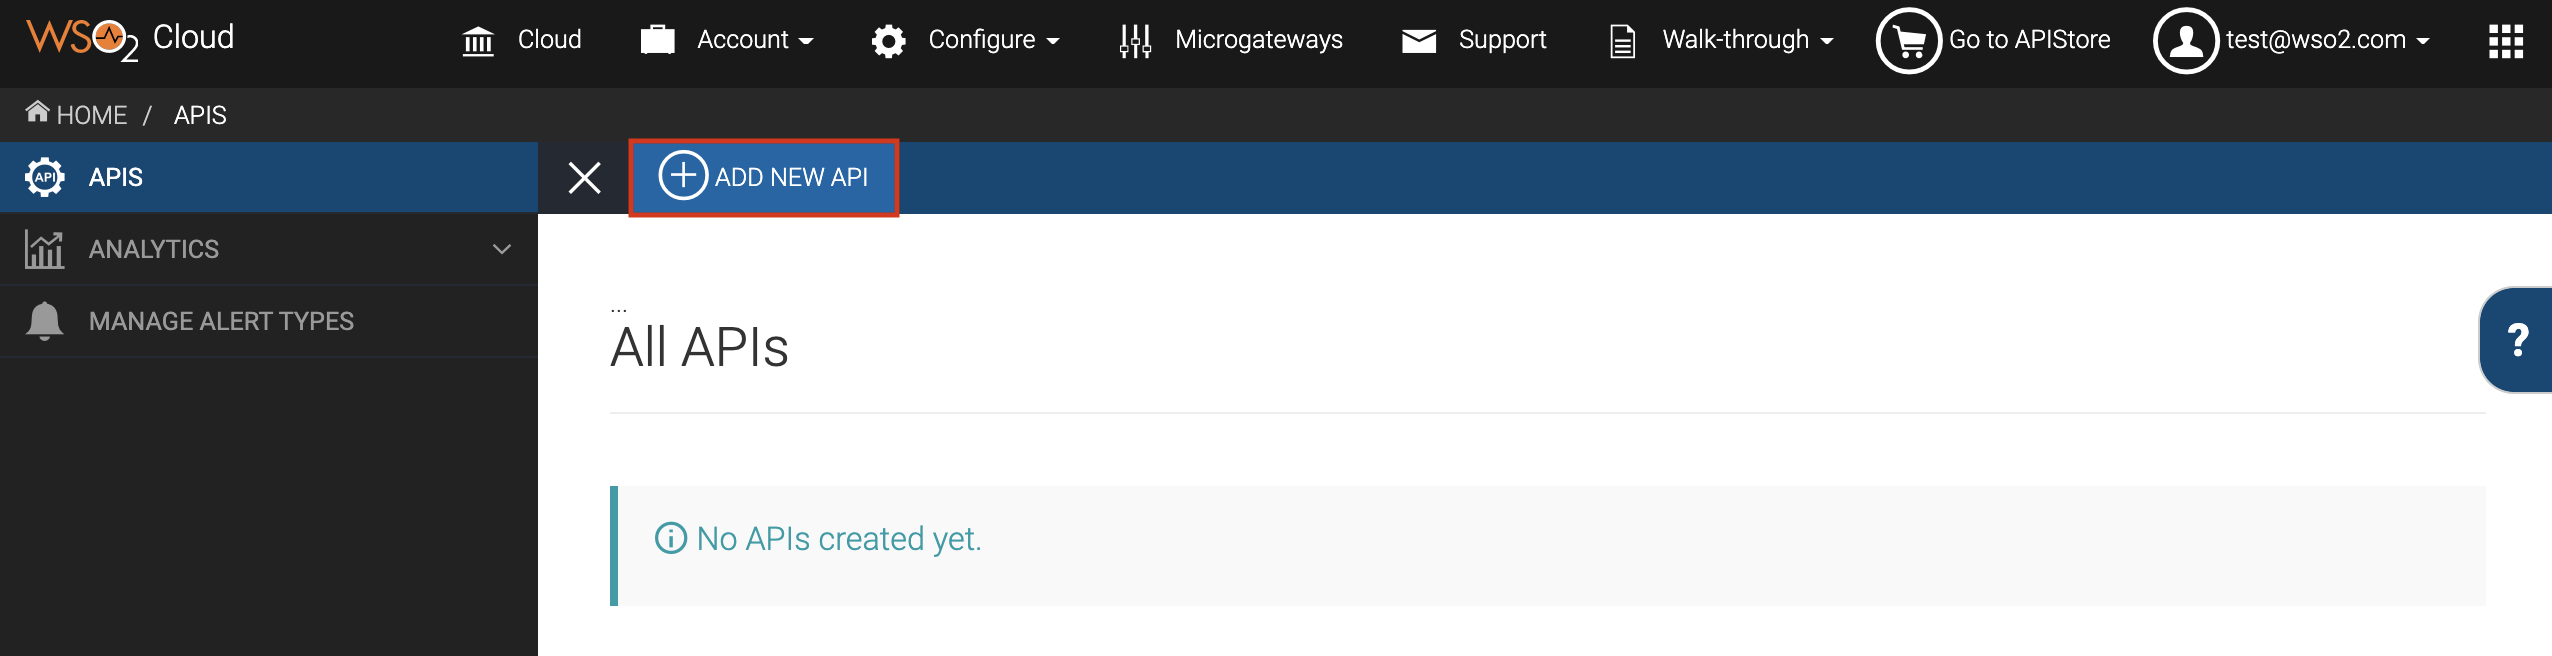
- Close the interactive tutorial that starts automatically if you are
a first-time user, and then click ADD NEW API.
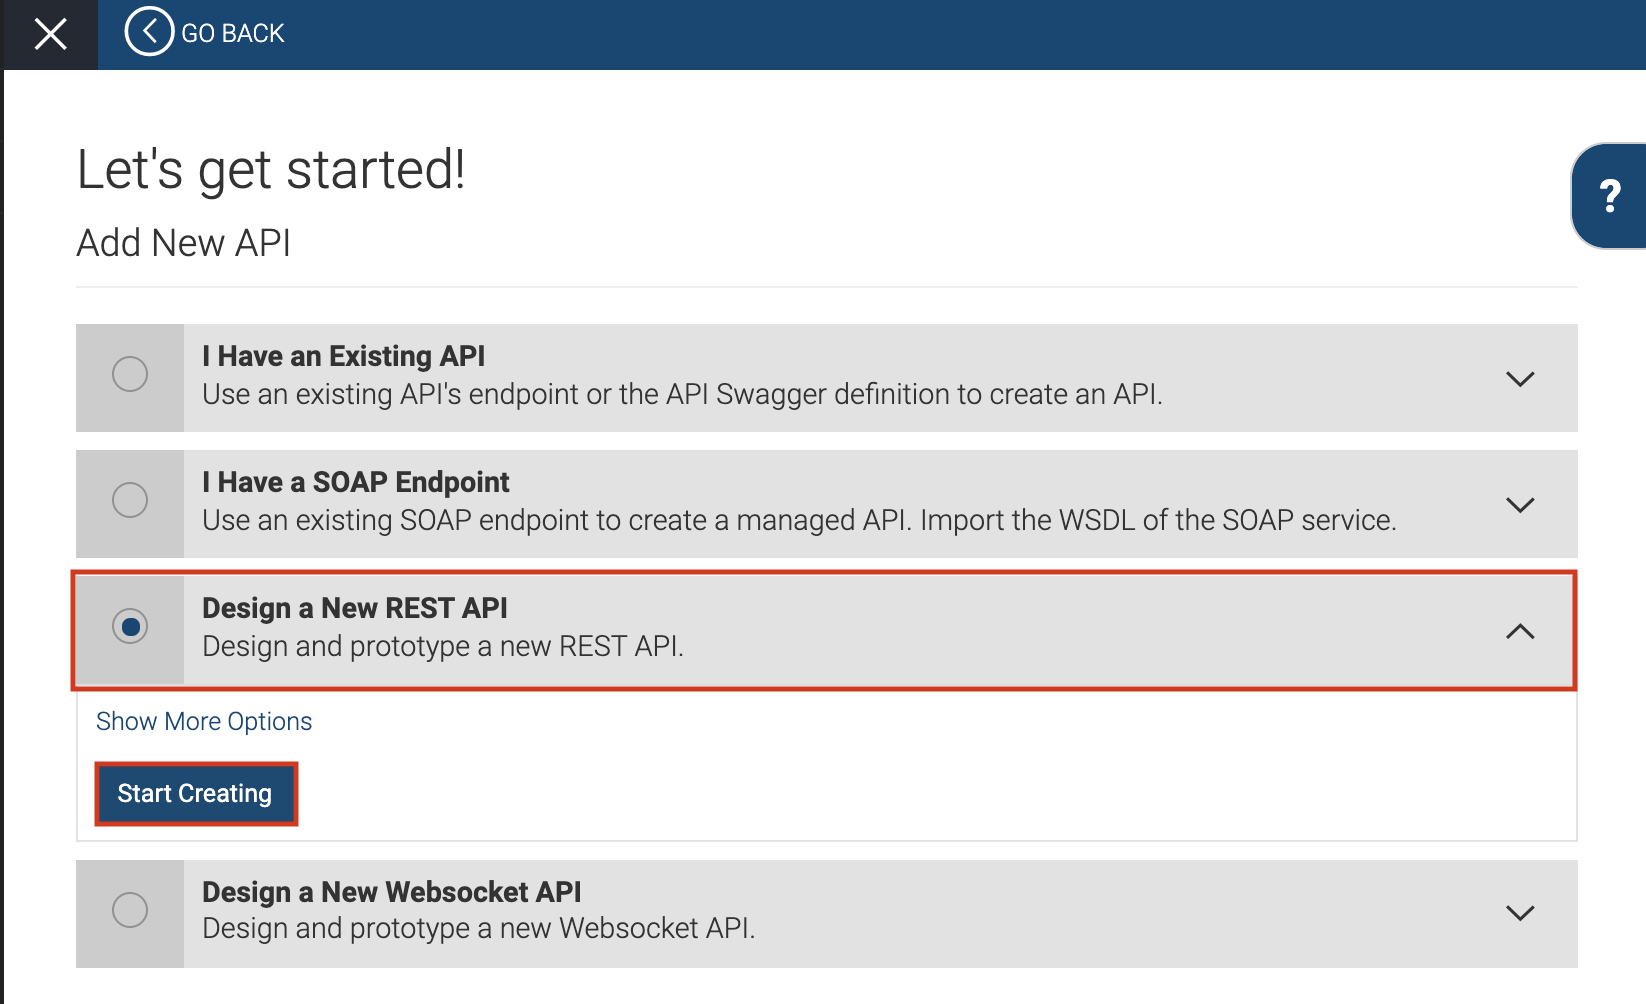
- Select Design a New REST API and click Start Creating.
-
Specify the following as the API details and click Add to add the resource.
Field Sample value Name PhoneVerification Context /phoneverifyTip : You can define the API's version as a parameter of its context by adding the
versioninto the context. For example,<{version}/phoneverify. The API Manager assigns the actual version of the API to theversionparameter internally. For example, https://gateway.api.cloud.wso2.com:8243/t/companyn/1.0.0/phoneverify . Note that the version appears before the context, allowing you to group your APIs based on versions.Version 1.0.0 Visibility Public Resources - URL Pattern:
CheckPhoneNumber Request Types: GET, POST
- URL Pattern:
-
After you add the resource, click its
GETmethod to expand it and then provide the following parameter details:Parameter Name Description Parameter Type Data Type Required PhoneNumberGive the phone number to be validated Query String True LicenseKeyGive the license key as 0 for testing purpose Query String True Once done, click Implement. Alternatively, click Save to save all the changes made to the API. You can come back later to edit it further by selecting the API and clicking on Edit.
-
Click the Managed API option.
-
The
Implementtab opens. Specify the information given in the table below:Field Sample value Endpoint type HTTP/REST Endpoint Production endpoint This sample service has two operations as
CheckPhoneNumberandCheckPhoneNumbers. Let's useCheckPhoneNumberhere.
http://ws.cdyne.com/phoneverify/phoneverify.asmxTo verify the URL, click the Test button next to it.
-
Click Manage to go to the
Managetab and enter the information in the table below:Field Sample value Description Tier Availability Select all The API can be available at different levels of service. They allow you to limit the number of successful hits to an API during a given period of time. -
Click Save & Publish . This will publish the API to the API Store. so that subscribers can use it.
Now you have successfully created and published an API.
Top